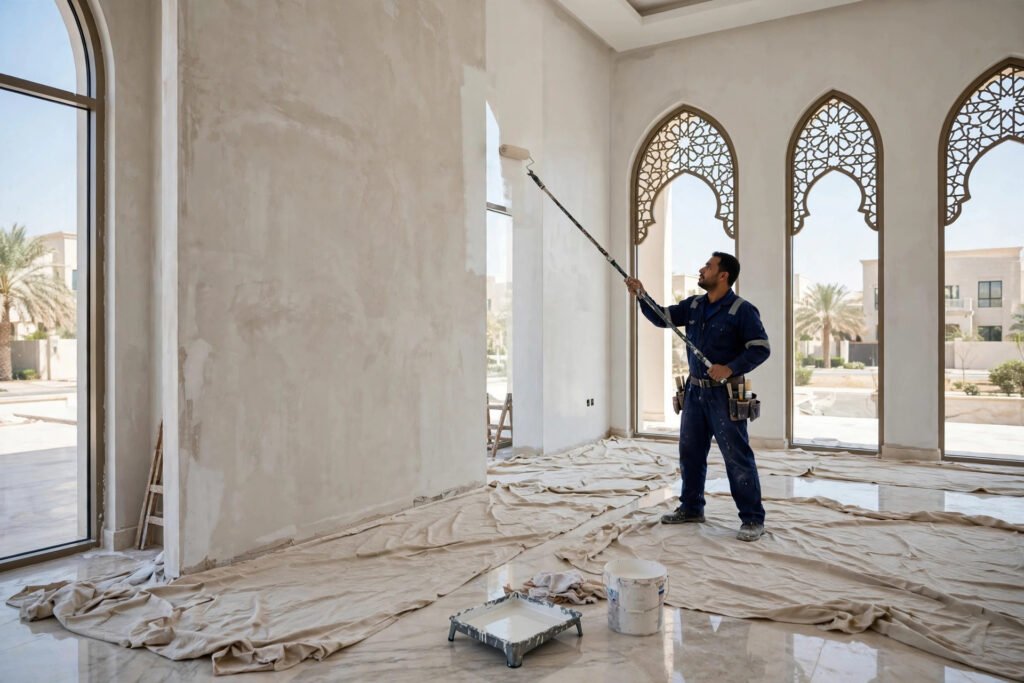
Moving into a newly built villa in Riyadh is exciting, but before you settle in, your fresh plaster walls need proper paintwork. Following the correct new villa painting steps is the difference between a finish that stays flawless for years and paint that bubbles, peels, or fades within months. New plaster is porous and alkaline, so it cannot be treated like an already painted wall.
In this guide, our SheelTalab painting team walks you through the complete 8-step process we use on new villas across Riyadh, from curing and cleaning to the final topcoat. Whether you plan to hire professionals or do it yourself, these steps will protect your investment and give your new home the finish it deserves.
SheelTalab paints new villas at 25 SAR per meter (reduced from 40), backed by our 30-day warranty and a 4.9 out of 5 rating from more than 18,500 completed jobs.
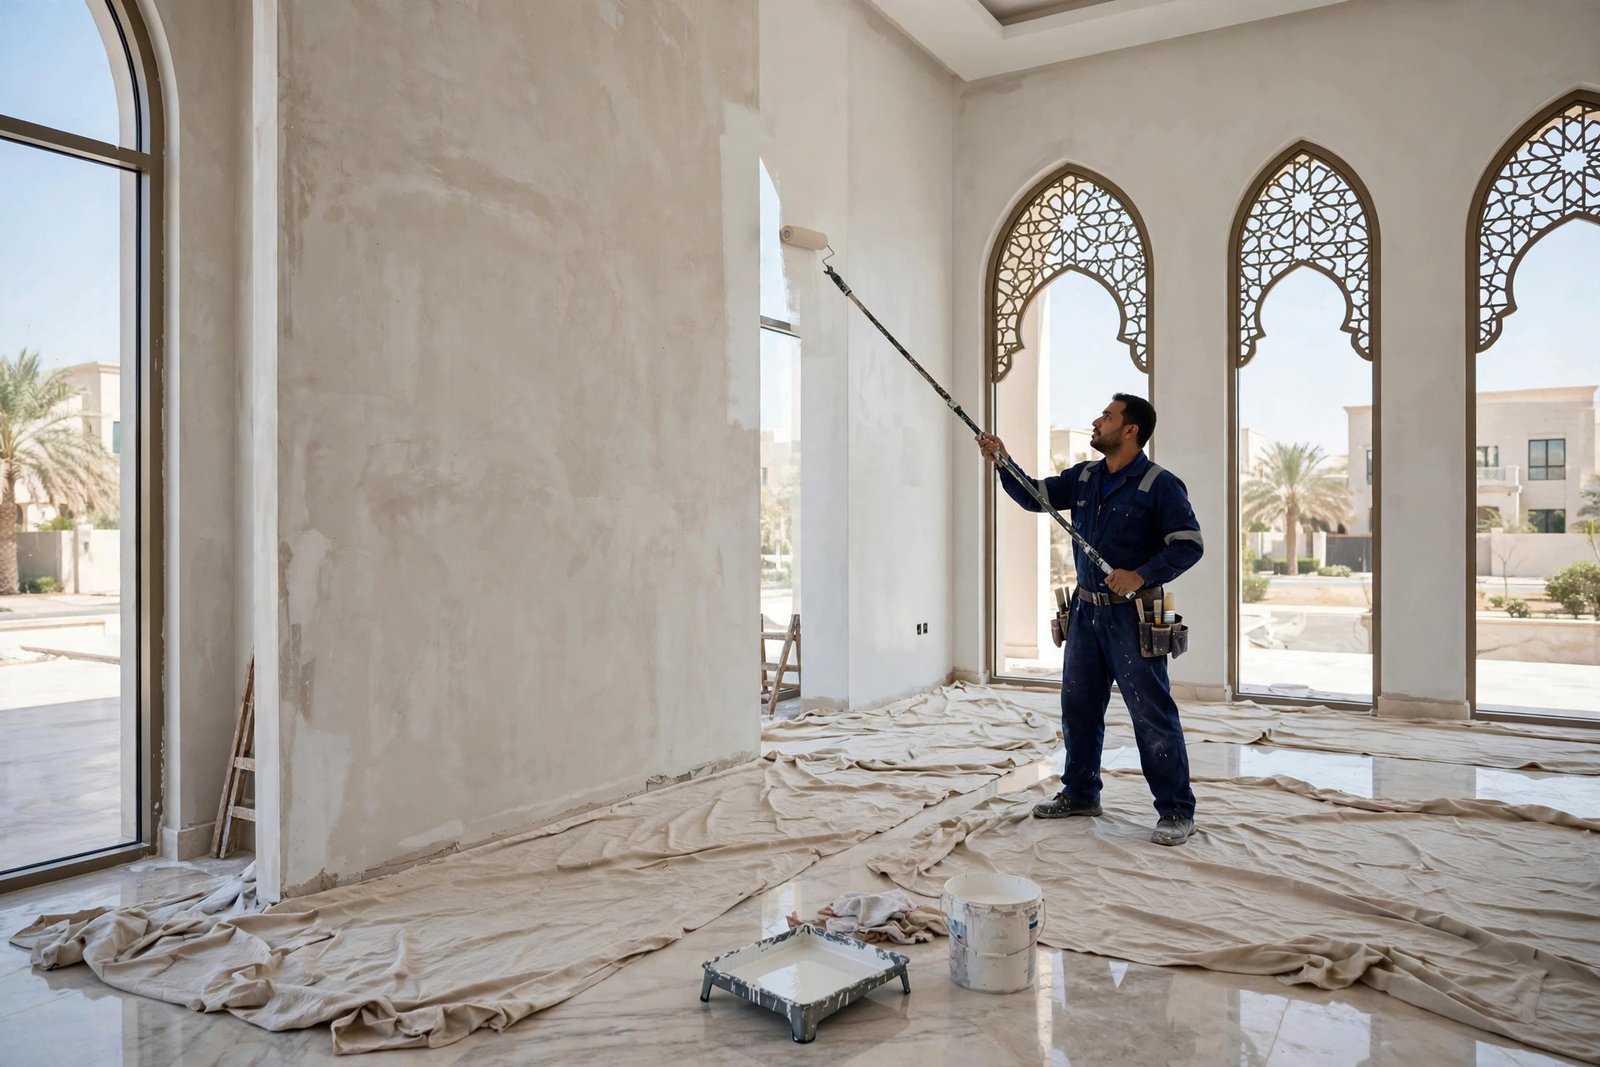
New Villa Painting Steps: The Complete 8-Step Guide
Every professional painter follows the same new villa painting steps, because skipping even one can cause peeling or patchy color later. Here is the exact sequence our certified teams use on fresh plaster in Riyadh.
Step 1: Let the Plaster Cure Fully
Fresh plaster looks dry long before it actually is. In Riyadh’s heat, gypsum plaster can take one to two weeks to cure fully, and cement plaster may need even longer. Paint applied to damp plaster traps moisture, which causes blistering and paint failure within weeks. Press your palm against the wall in several spots; if any area feels cool or looks darker than the rest, it still needs more time.
Step 2: Clean and Inspect the Surface
Dust, plaster residue, and construction debris stop paint from bonding. Wipe every wall with a dry microfiber cloth or vacuum with a soft brush attachment, then inspect for hairline cracks, trowel marks, and uneven patches. Mark every imperfection with painter’s tape so nothing gets missed during filling. Good lighting matters here; angle a work light along the wall to reveal flaws you cannot see head-on.
Step 3: Apply the Mist Coat (Plaster Sealer)
This is the most important of all the new villa painting steps. A mist coat is regular emulsion paint diluted with water, usually about 70 percent paint to 30 percent water, and it acts as the sealer that bonds everything to porous plaster. Apply it evenly with a roller, working top to bottom, and let it dry for at least 24 hours. Never use full-strength topcoat paint directly on bare plaster; the surface drinks it in unevenly and the finish will look patchy. For more detail, see this step-by-step guide to painting new plaster.
Step 4: Fill, Sand, and Mask
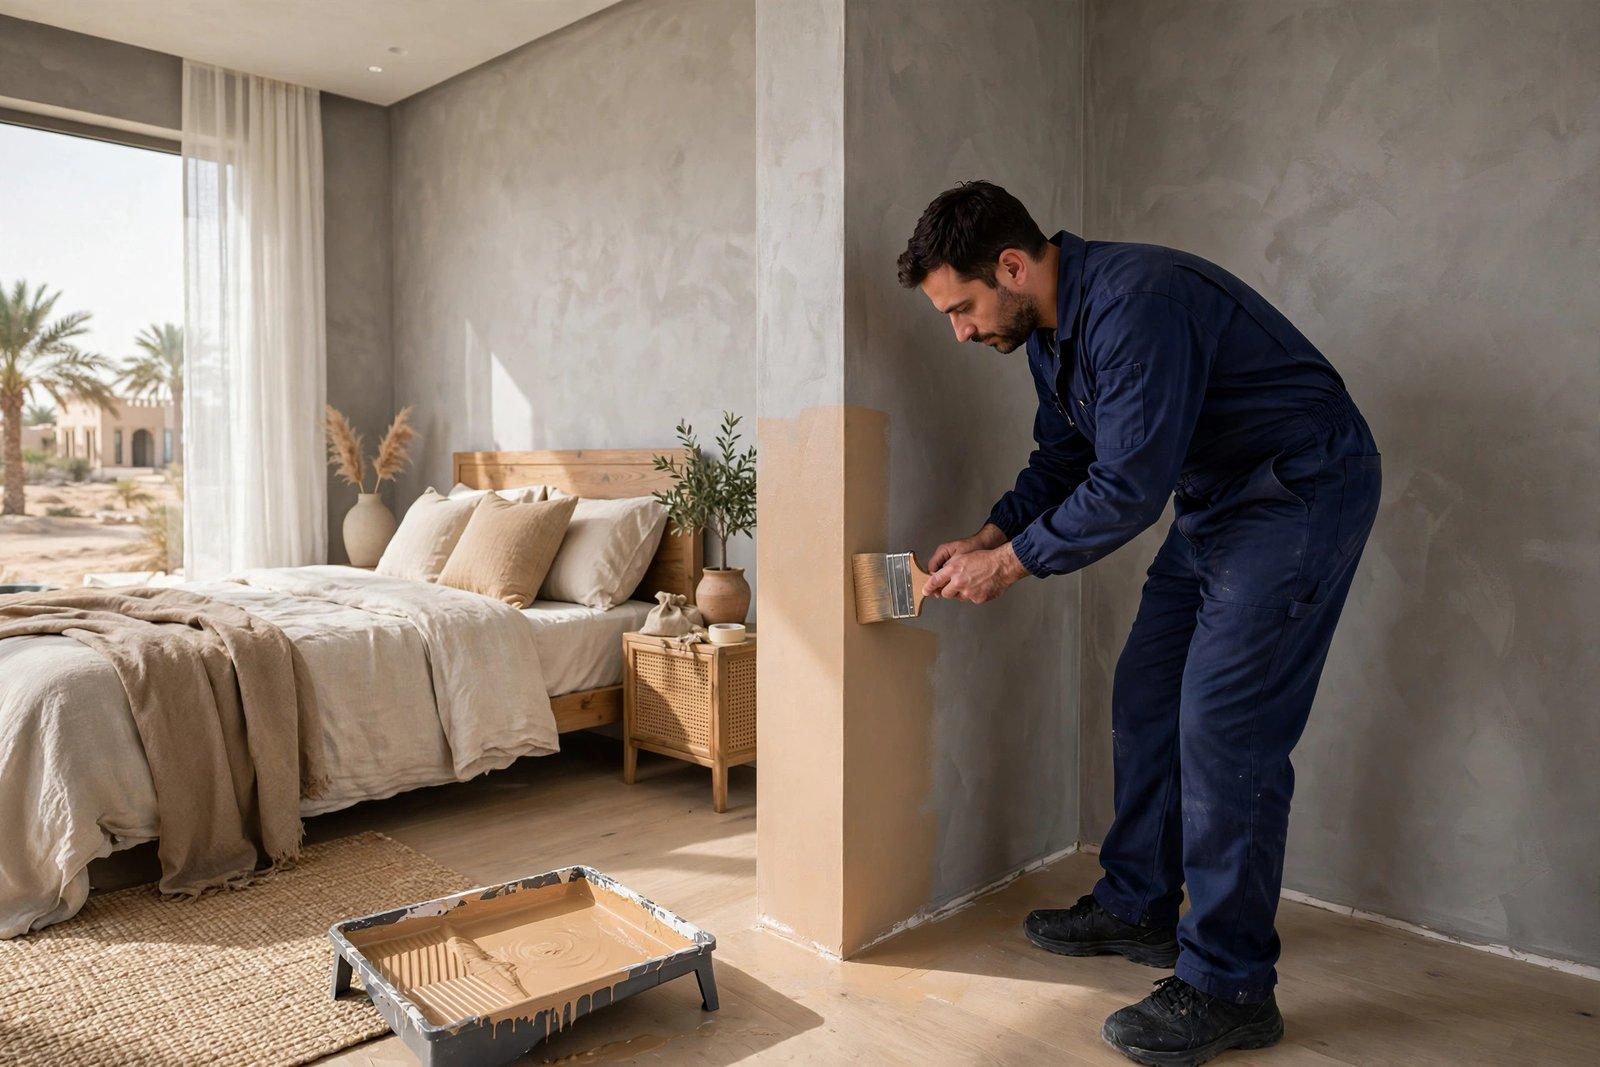
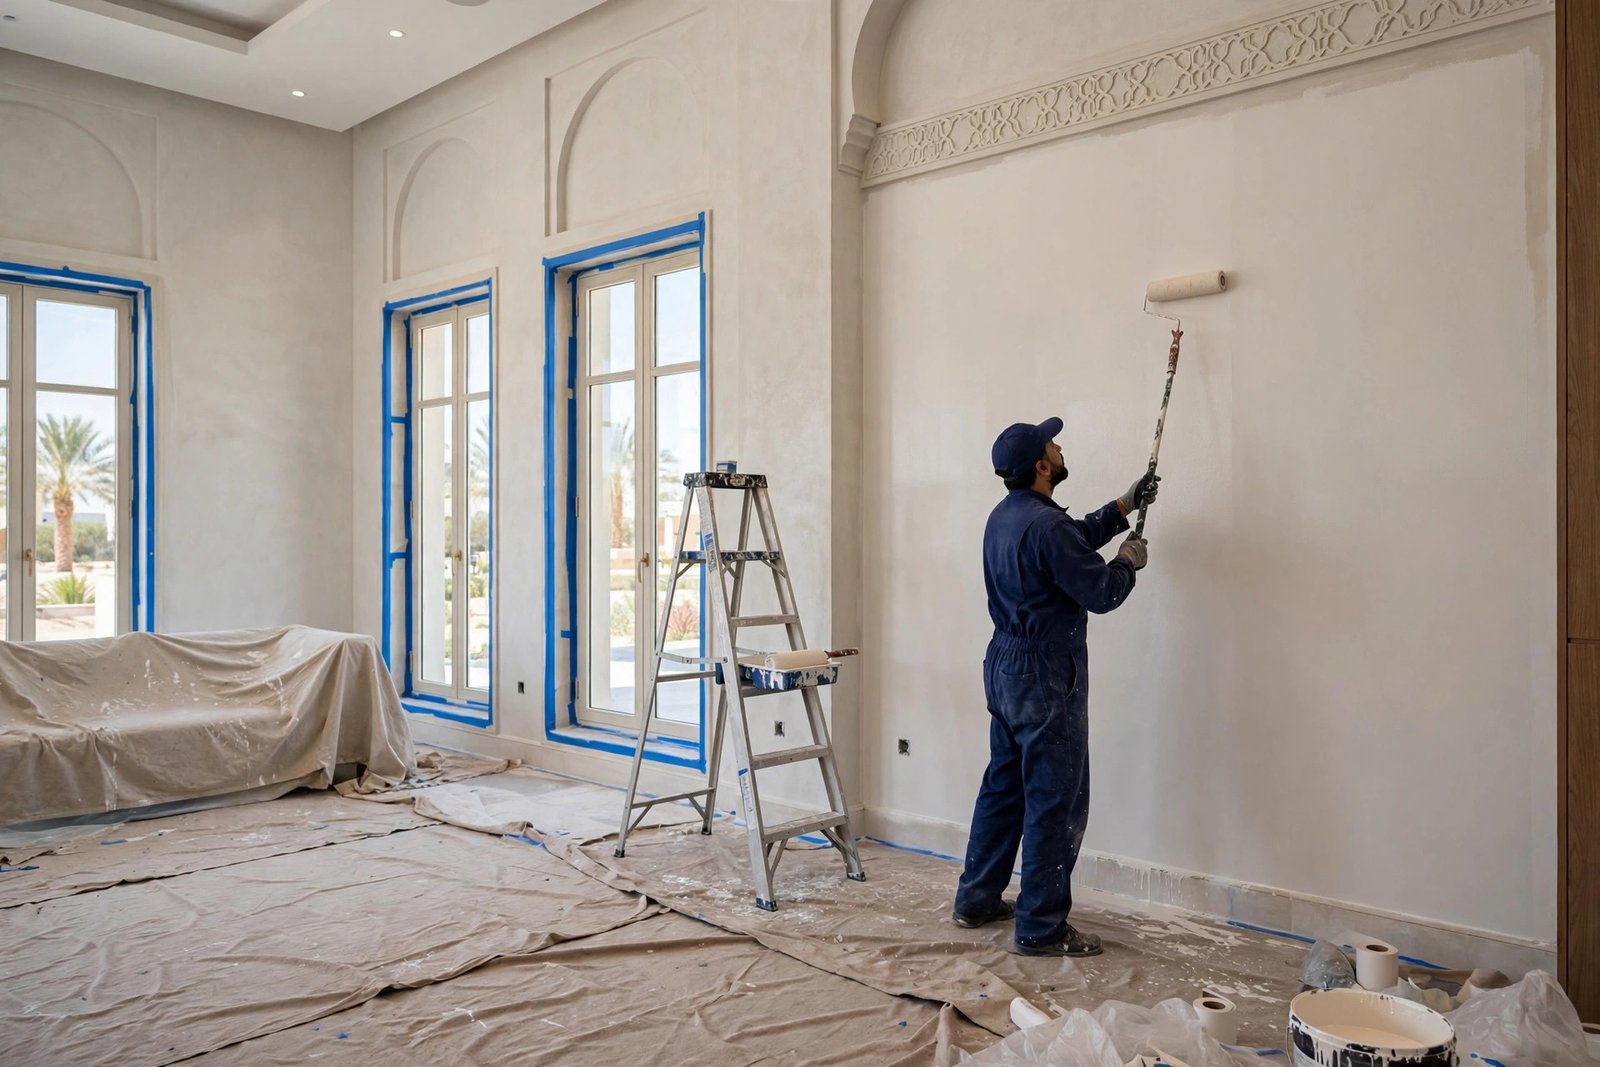
Fill the taped cracks and holes with quality interior filler, let it cure, then sand each patch smooth with fine sandpaper. Sand any rough spots across the whole wall as well. After sanding, wipe off all dust, then mask window frames, door frames, sockets, and skirting boards with painter’s tape and cover floors with drop cloths. This preparation takes time, but it is what separates a crisp professional finish from a messy one.
Step 5: Cut In Edges and Corners
Using a 2-inch angled brush, cut in along ceilings, corners, skirting boards, and around every socket and switch. Cut in one wall at a time and roll immediately afterward so the brush and roller textures blend while the paint is wet. Working in this rhythm keeps a wet edge and prevents visible lines where brushwork meets roller work.
Step 6: Roll on the First Topcoat
Choose a quality breathable emulsion in your chosen color and sheen. Load your roller evenly, apply the paint in overlapping vertical strokes, and keep a steady pace from top to bottom. In Riyadh’s air-conditioned interiors, a coat typically dries in two to four hours, but always check the paint tin’s instructions before recoating. This first coat will still show some variation; that is normal and exactly why a second coat follows.
Step 7: Sand Lightly and Apply the Second Coat
Once the first coat is fully dry, lightly sand the walls with very fine sandpaper to knock down any roller stipple, then wipe away the dust. Apply the second coat exactly like the first. Two full topcoats over a mist coat give you rich, even color and the durability to withstand Riyadh’s dust and heat for years.
Step 8: Final Inspection and Touch-Ups
Walk every room with a bright work light held at an angle to the walls. Look for missed spots, drips, and uneven sheen. Touch up small flaws with a brush, then carefully remove all painter’s tape at a 45-degree angle while the final coat is still slightly tacky for the cleanest lines. Reinstall socket covers and fittings, and ventilate each room well for the first day.
Common Mistakes That Ruin New Plaster Paint Jobs
Skipping the mist coat is the number one error we see in Riyadh villas. Others include painting before the plaster has cured, which traps moisture and causes blistering, and using cheap non-breathable paint that cannot release residual moisture. Another frequent mistake is rushing the new villa painting steps into a single day; drying times exist for a reason. Finally, many DIY jobs fail at surface preparation: paint applied over dusty or cracked plaster simply does not stick.
If you notice peeling or bubbling after a recent paint job, the fix is to strip the failed paint, reapply the mist coat, and start the topcoats again. This costs far more than following the steps properly the first time.
What New Villa Painting Costs in Riyadh
SheelTalab paints new villas at 25 SAR per square meter, reduced from 40 SAR. The price covers labor, full surface preparation, mist coat, two topcoats of quality paint, and our 30-day warranty. A typical 400 square meter villa interior therefore costs around 10,000 SAR all in. For a full breakdown of factors like ceiling height, paint brand, and extra prep work, read our guide to villa painting cost in Riyadh.
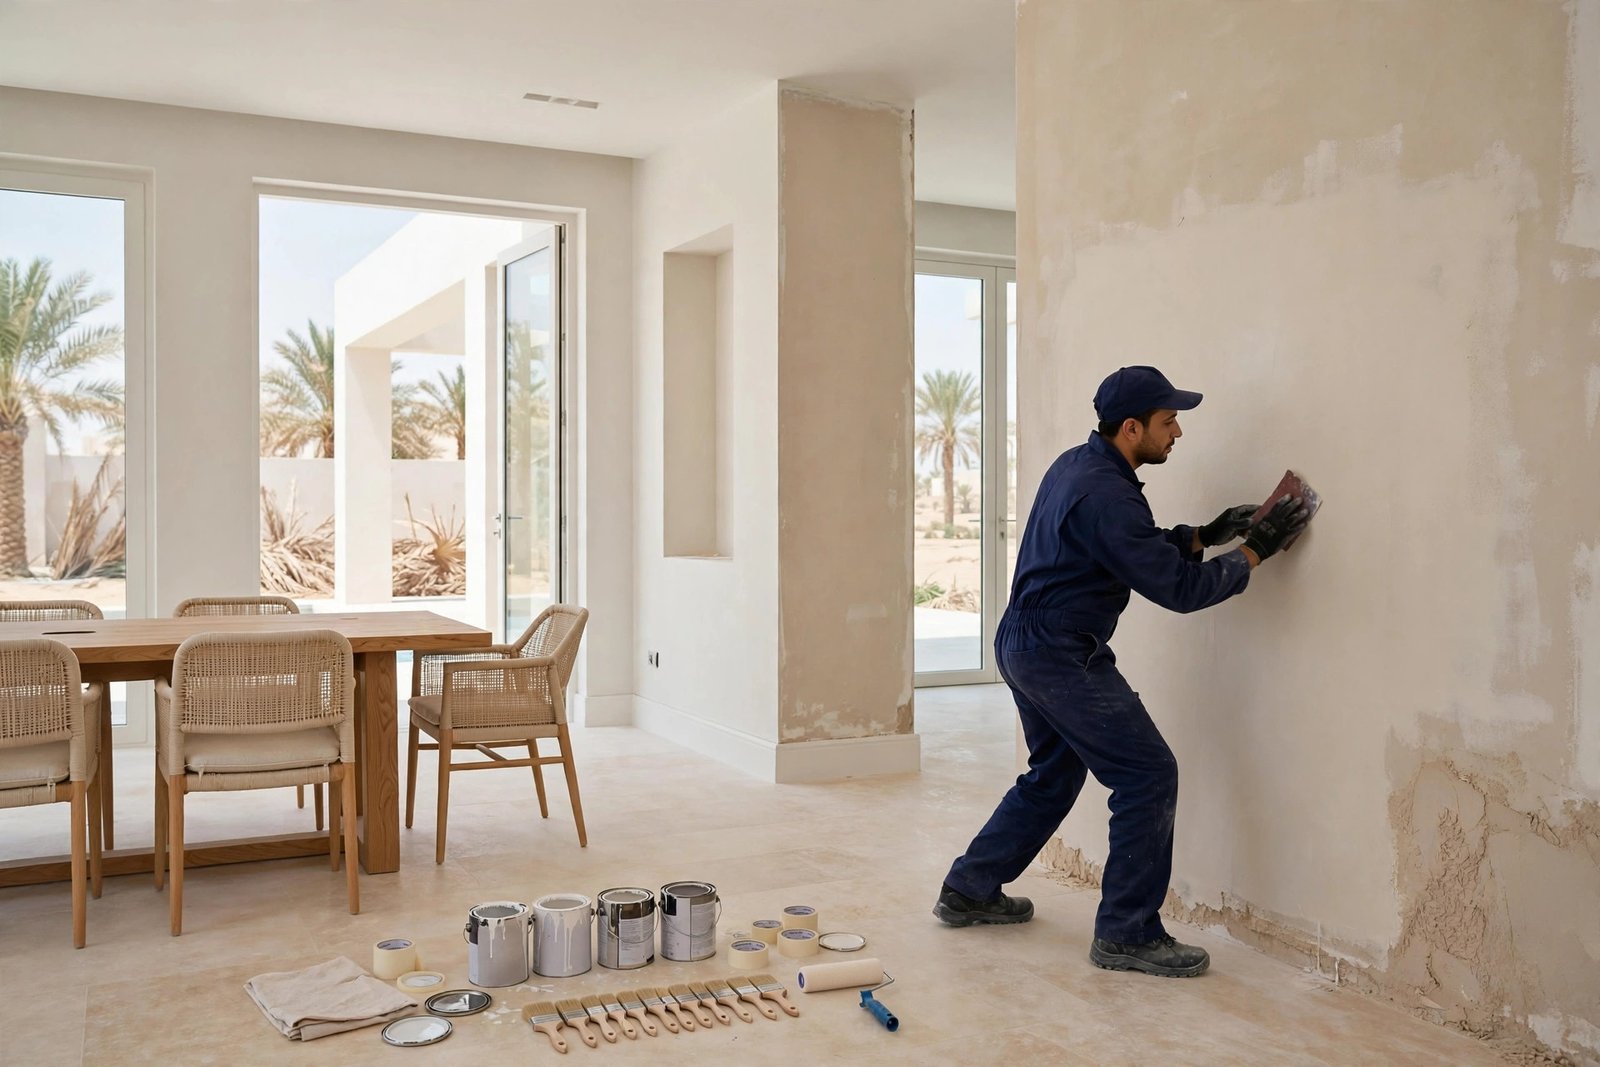
Why Hire SheelTalab Painters for Your New Villa
Our certified painting teams complete new villa projects across Riyadh every week. We dispatch within 45 minutes of your call, operate 24/7, and back every job with a 30-day warranty. With a 4.9 out of 5 rating from more than 18,500 completed jobs, we bring the same discipline to a single room and a full villa. We also handle related finishes; see our tips for interior villa painting and exterior villa painting for heat-resistant exterior coatings.
Call 0570328344 or 0570328344, or message us on WhatsApp, for a free quote and a same-day site visit anywhere in Riyadh.
Getting the new villa painting steps right takes patience, the right materials, and respect for drying times. Do it properly once, and your villa’s walls will stay flawless for years. Cut corners, and you will end up paying to repaint. Whether you follow this guide yourself or hand it to our team, your new home deserves a finish that lasts.