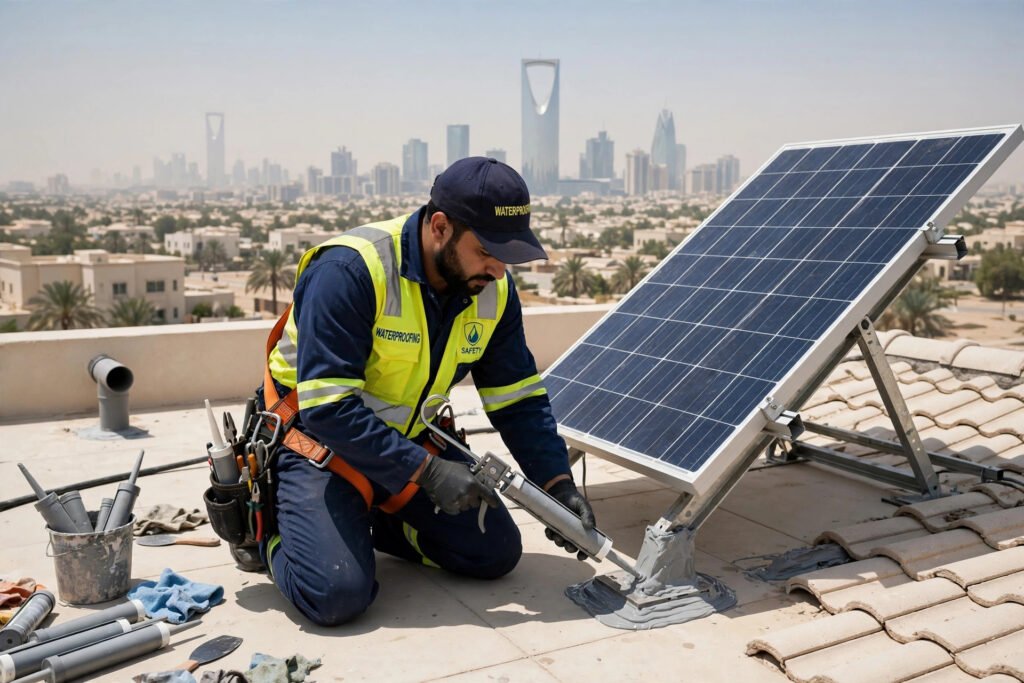
If you are searching for solar panel mount waterproofing tips, you already understand the uncomfortable truth about rooftop solar: every bracket bolted into your roof is a potential leak path. In Riyadh, where home solar is booming and winter downpours arrive after months of brutal heat, a poorly sealed mount lets rainwater run straight down the bolt and into your ceiling. The good news is that mount leaks are almost entirely preventable with the right technique.
This guide walks you through the four waterproofing methods professional technicians use before a single panel goes up. Follow them, and your solar array can sit on your villa roof for 25 years without a single drip. Skip them, and even a small rainstorm can stain ceilings and soak insulation. The U.S. Department of Energy publishes a homeowner guide to going solar that covers roof readiness, and the tips below pick up where that planning leaves off: at the bracket, the bolt, and the seal.
Solar Panel Mount Waterproofing Tips: Why Mounts Leak in the First Place
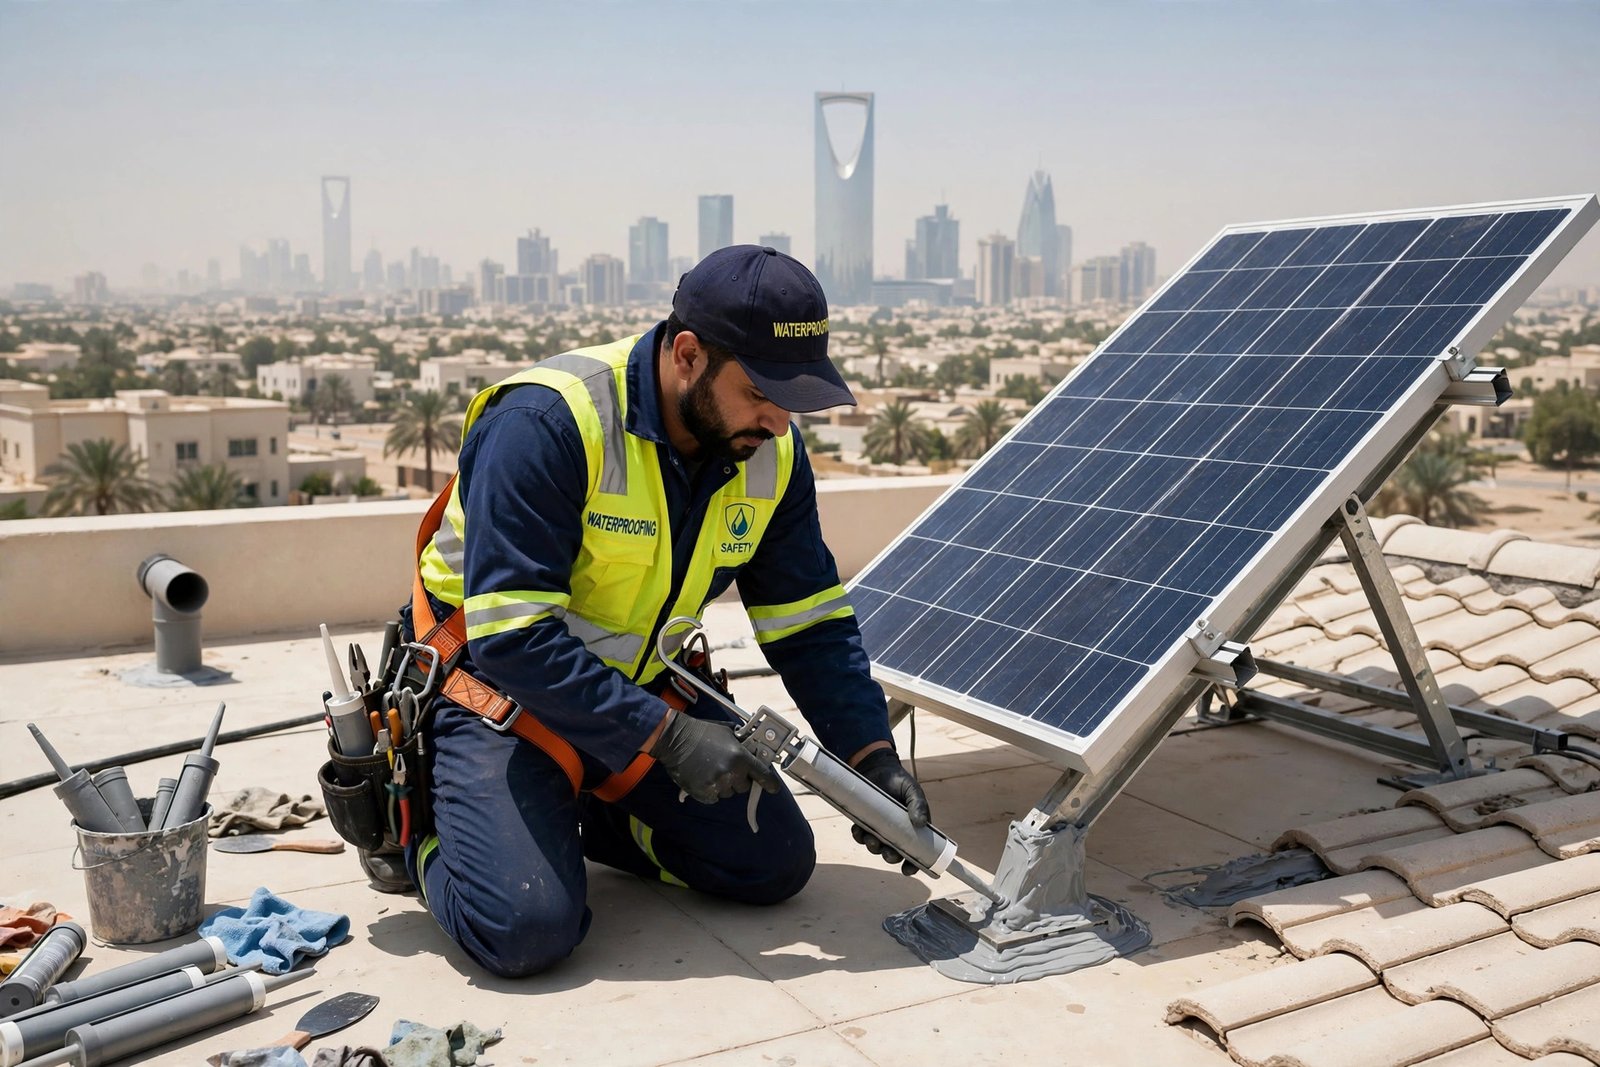
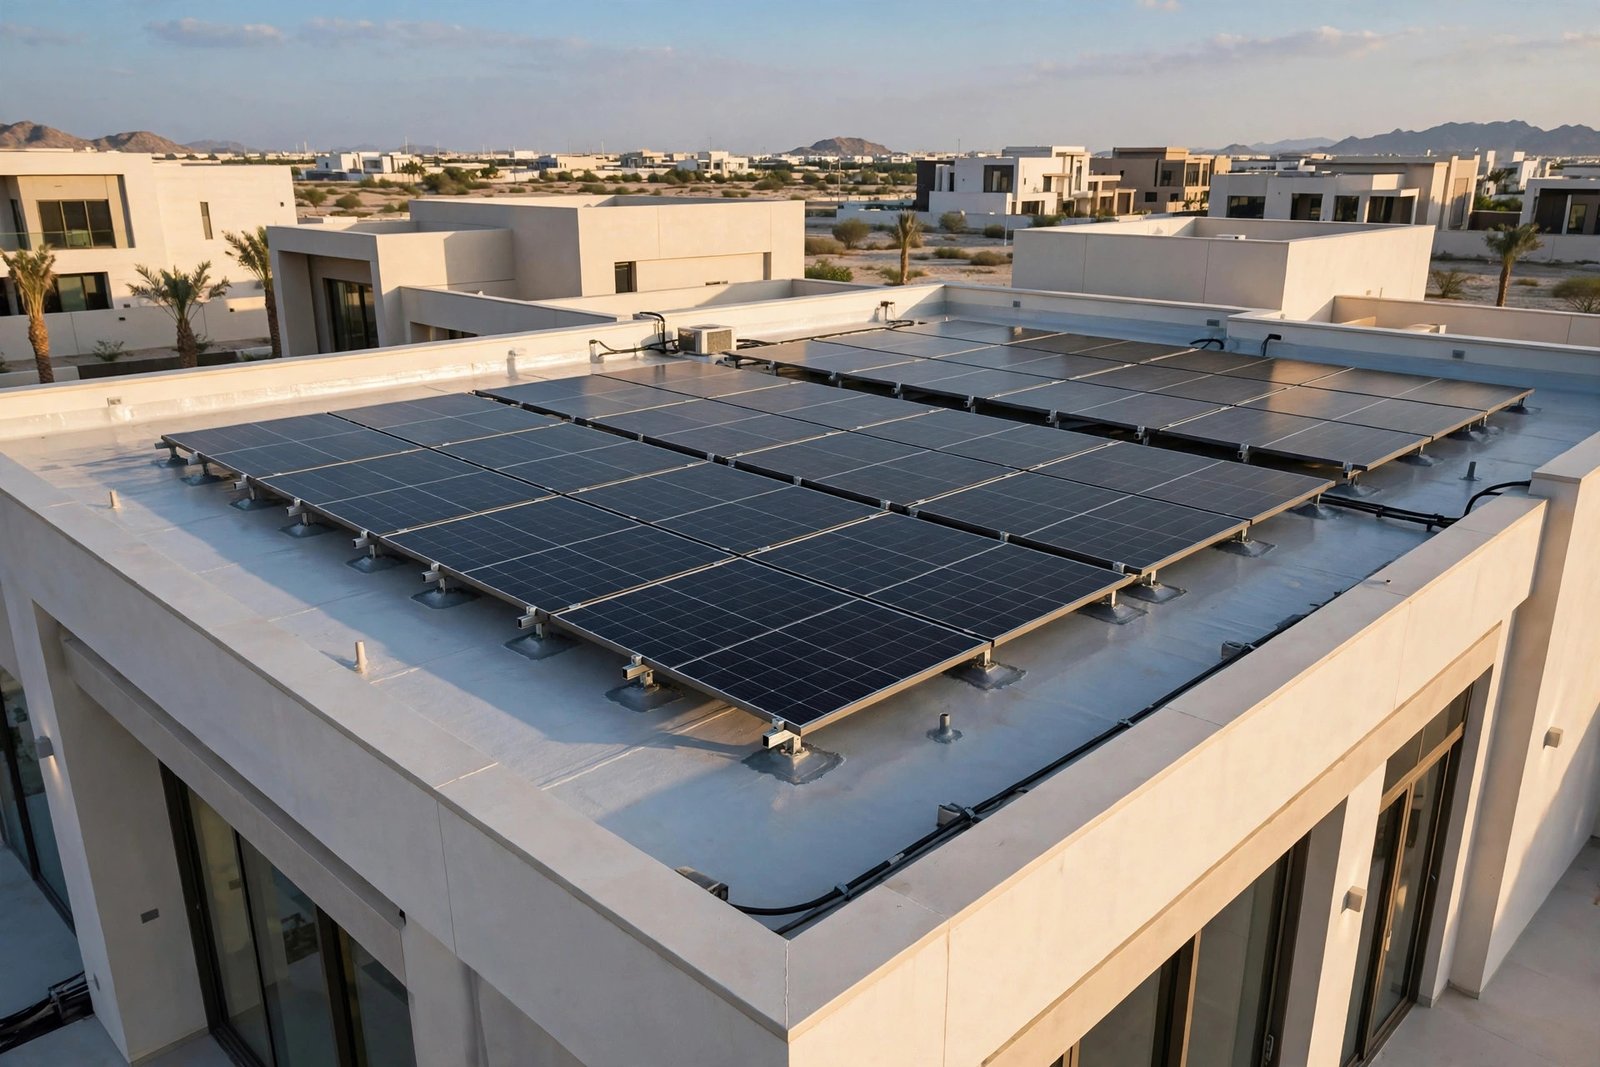
Most residential solar racks in Riyadh use L-foot or standoff mounts: a metal bracket fixed to the roof structure with a lag bolt or chemical anchor, with the panel rail clamped on top. Each bracket creates a penetration through your waterproofing layer. On concrete slab roofs, the bolt threads bite into the slab. On tiled roofs, installers often drill straight through the tile. Water follows gravity and surface tension, so any gap around that bolt becomes a funnel straight into your home.
The three leak pathways you need to block
First, the bolt hole itself: if the hole was drilled oversize or the bolt was not torqued to spec, water seeps along the threads. Second, cracked or shifted tiles around the mount: Riyadh’s summer heat expands metal brackets while the tile stays put, and that thermal cycling cracks tiles over time. Third, sealant failure: cheap silicone shrinks and peels under UV and 47°C heat, opening a gap exactly where water pools. Every tip below is designed to shut one or more of these pathways.
Tip 1: Flash Every Mount Before You Reach for the Sealant Tube
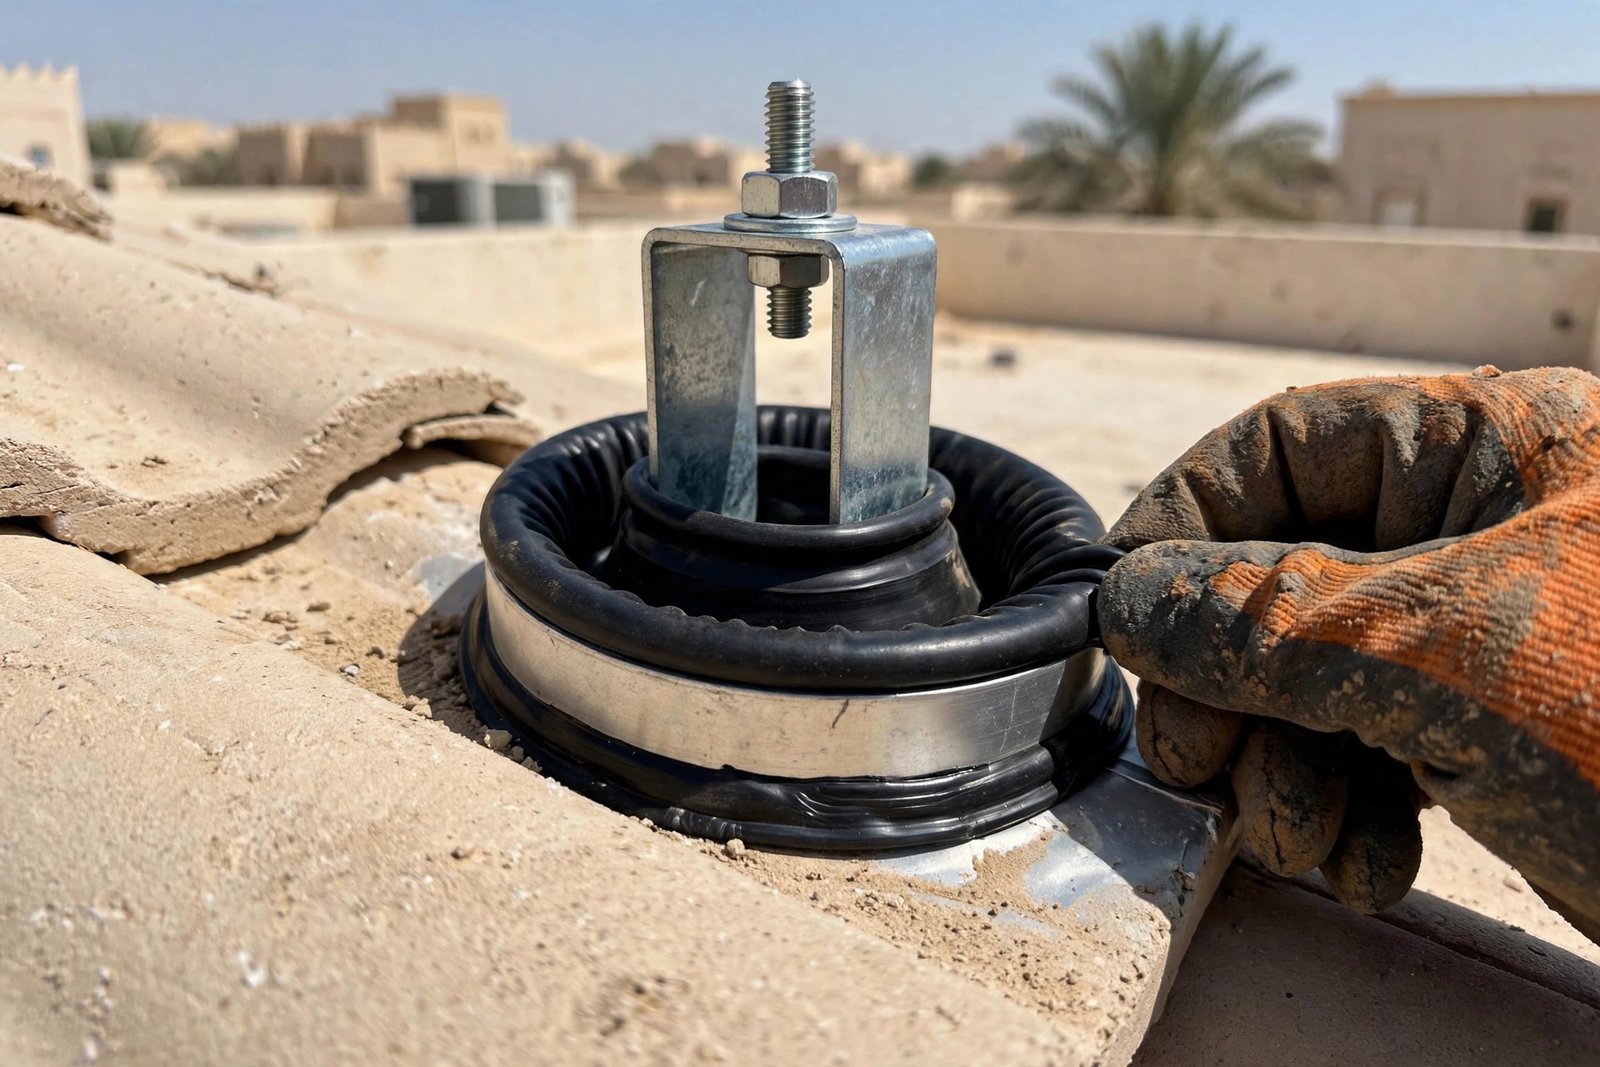
The single most important of these solar panel mount waterproofing tips is also the most skipped: install mechanical flashing under every bracket before applying any sealant. A properly fitted aluminum or galvanized flashing boot, or an EPDM rubber collar, sheds water away from the penetration by gravity alone. Sealant is your backup, never your first line of defense. On concrete tile roofs, use a pan flashing that slides up under the tile course above the mount, so water running down the roof passes over the flashing and around the bracket instead of into the bolt hole.
Two details make or break the flashing. First, the lag bolt or anchor should be the minimum diameter that meets the structural requirement, since every extra millimeter of hole is extra leak risk. Second, the flashing must sit flat with no tenting around the bracket base. A flashing job done this way can outlast the panels themselves.
Tip 2: Use Polyurethane Sealant Built for Riyadh Heat
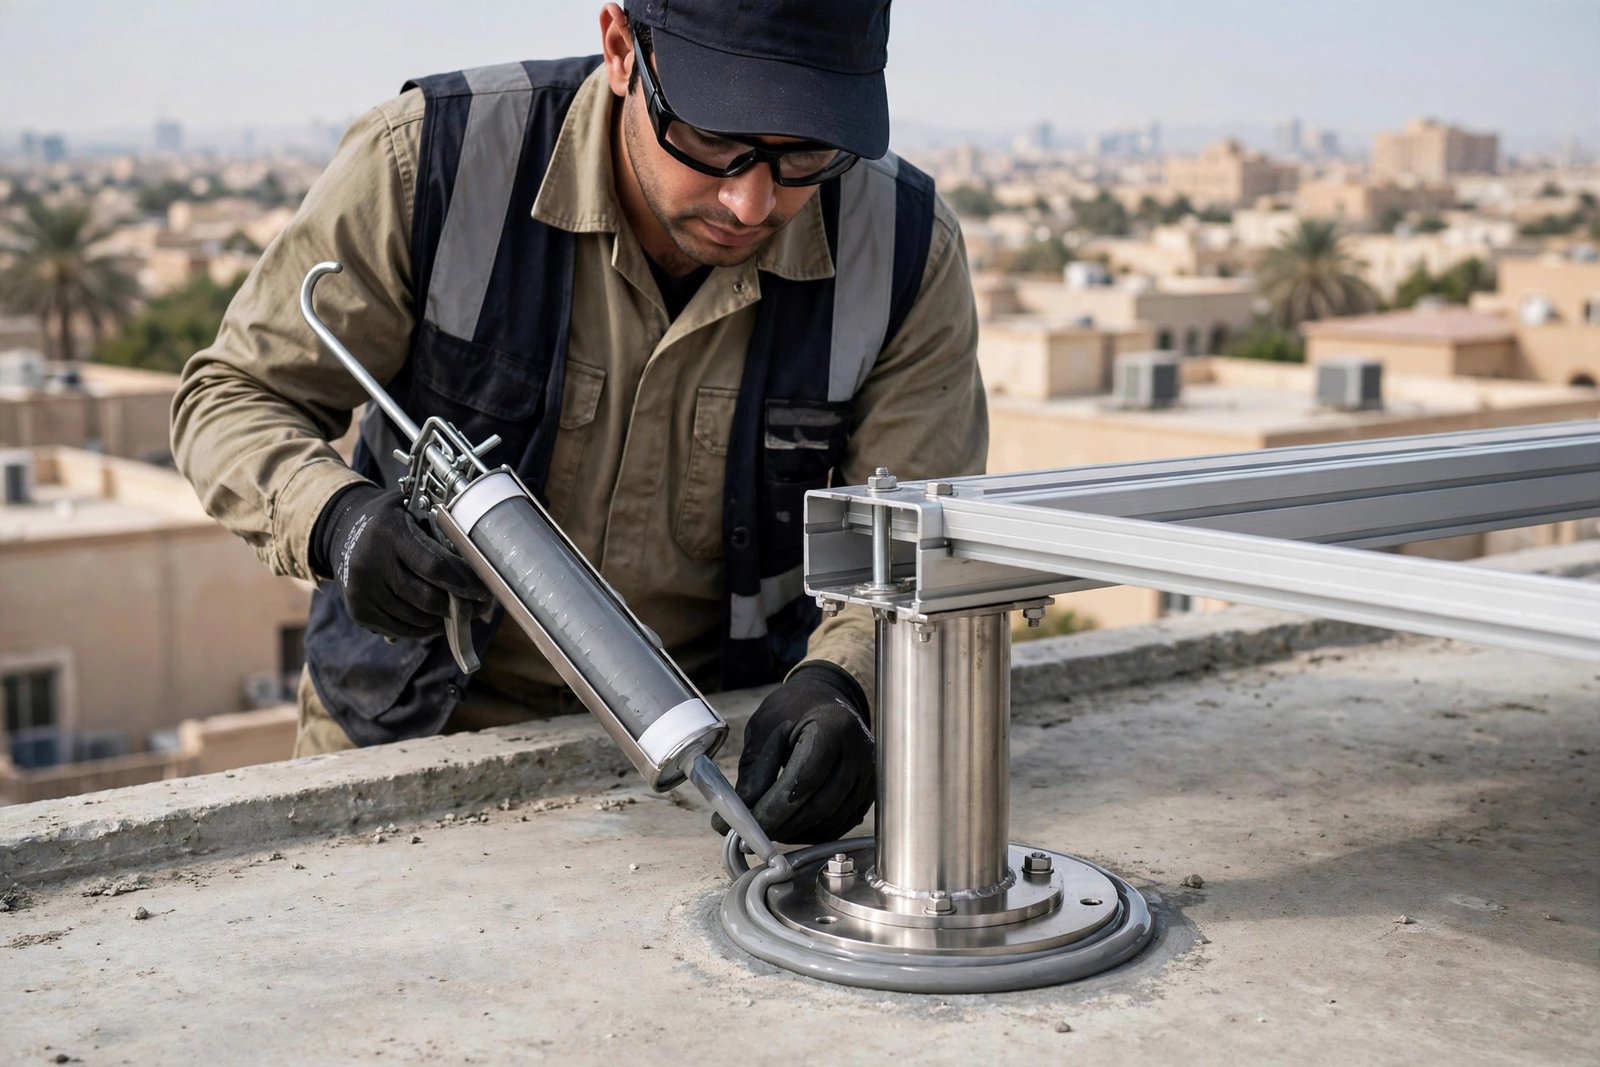
Once the flashing is in place, seal the edges with a high-quality polyurethane or hybrid polymer sealant, not bargain silicone. Polyurethane stays flexible through Riyadh’s daily temperature swings, bonds strongly to concrete, metal, and flashing membranes, and resists the UV degradation that turns cheap silicone brittle within two summers. Apply a continuous bead around the base of the bracket and along every flashing edge, then tool it smooth so water cannot sit in ridges or gaps.
For extra insurance on flat concrete roofs, add a self-adhesive bitumen or butyl tape collar under the flashing before the bracket is bolted down. The tape compresses under the bracket base and creates a gasket that seals even if the bolt loosens over the years. This layered approach is the same redundancy professional roofers use on vents and skylights, and it works just as well on solar mounts.
Tip 3: Keep Water Moving Away From Every Penetration
Even perfect sealing struggles if water stands around the mount for hours. Position brackets away from natural ponding areas on flat roofs, and never mount in a roof valley where runoff concentrates. Maintain a small gap between the panel underside and the roof surface so you can sweep leaves and dust out; debris dams trap moisture against seals and shorten their life. On flat roofs with parapets, confirm the scuppers and drains are clear before installation, because a blocked drain turns your entire roof into a shallow pool pressing against every mount.
Check the roof slope around each bracket line
Walk the roof after the rack layout is marked but before drilling. Look for low spots along each bracket row and shift the row a few centimeters uphill if needed. This simple step costs nothing and removes the standing-water problem at its source. These solar panel mount waterproofing tips all share one principle: the less time water spends touching a penetration, the less chance it has to get in.
Tip 4: Water-Test After Installation and Inspect Every Year
After the array is up, insist on a hose test: run water over each bracket line for several minutes while someone watches the ceiling below with the lights on. Then schedule an annual inspection before Riyadh’s rainy season, which typically runs from November to March. Check that sealant beads are still flexible and uncracked, that no tiles have shifted under the brackets, and that flashing edges are still firmly bonded.
If you spot brown stains on a ceiling, bubbling paint, or a musty smell in a top-floor room, do not wait for the next rain. SheelTalab’s waterproofing team serves all of Riyadh with 45-minute rapid dispatch, 24/7 availability, and a 30-day golden warranty on every job. Our roof waterproofing service starts at 50 SAR per meter (was 70), and our certified technicians can trace a mount leak to its source and reseal it properly. Reach us anytime at 0570328344 or 0570328344.
When to Call a Waterproofing Professional
DIY sealing works for small touch-ups, but call a professional when you see active dripping, when the array is already installed and you cannot access the mounts safely, or when a flat roof membrane needs patching around the brackets. A pro can also perform acoustic leak detection to find hidden moisture inside the slab before it spreads, and our guide to roof waterproofing in Riyadh explains the full membrane systems we install when a roof needs more than spot repairs.
Conclusion: Seal the Mounts, Then Harvest the Sun
Rooftop solar is one of the smartest upgrades a Riyadh villa owner can make, but only when the roof stays dry underneath it. Follow these solar panel mount waterproofing tips (flash every bracket, use polyurethane sealant rated for desert heat, keep water draining away, and inspect yearly) and your array will pay for itself without ever costing you a ceiling. Prefer certified hands? SheelTalab is one call away: 0570328344 or 0570328344, 24/7, backed by our 30-day golden warranty and a 4.9/5 rating from more than 18,500 completed jobs.