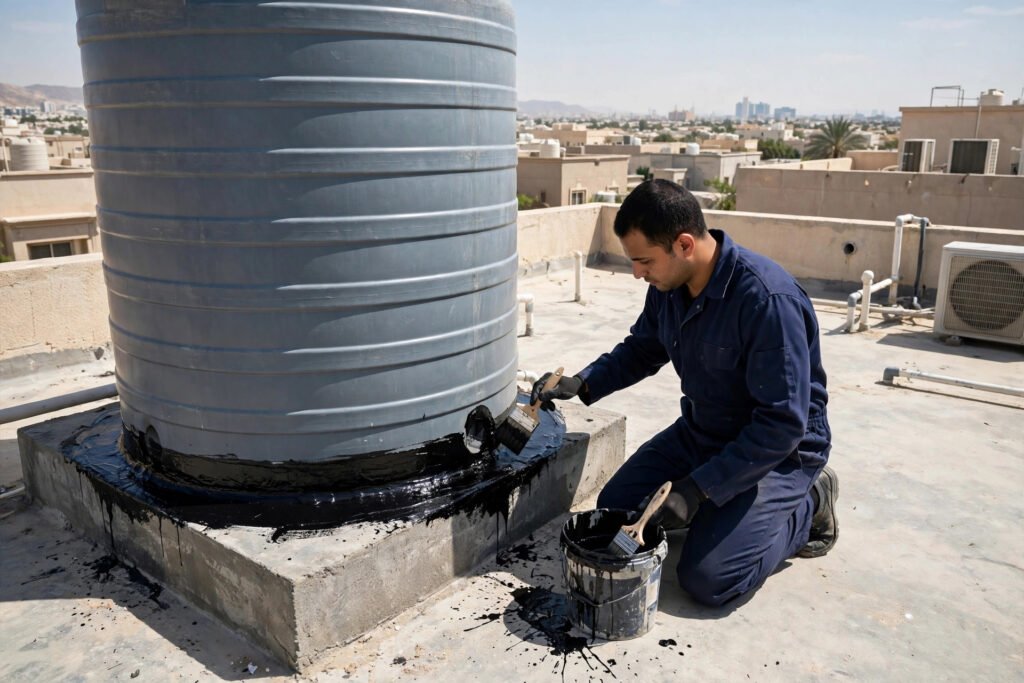
The base of your water tank is where most leaks begin. In Riyadh, rooftop and courtyard tanks sit on concrete plinths that take a daily beating: 47-degree summer heat, sudden winter downpours, and constant water pressure working against the joint where the tank meets the concrete. Most homeowners only notice the problem when a damp patch spreads across the ceiling below or a puddle keeps returning around the plinth. By then, the concrete has often been soaking up water for months. Knowing the water tank base waterproofing steps before damage sets in saves you from cracked ceilings, wasted water, and a repair bill that grows every week you wait.
This guide walks you through the four professional steps technicians follow to waterproof a tank base properly: inspecting and cleaning the base, repairing cracks and re-leveling the plinth, applying the waterproofing membrane, and curing plus final edge sealing. Each step matters, and skipping one is the reason most DIY jobs fail within a few months. If you would rather have certified professionals handle it, SheelTalab waterproofs tank bases across Riyadh from 50 SAR per meter, with 45-minute dispatch, 24/7 availability, and a 30-day golden warranty on every job.
The 4 Water Tank Base Waterproofing Steps, Explained
Step 1: Inspect and Clean the Base
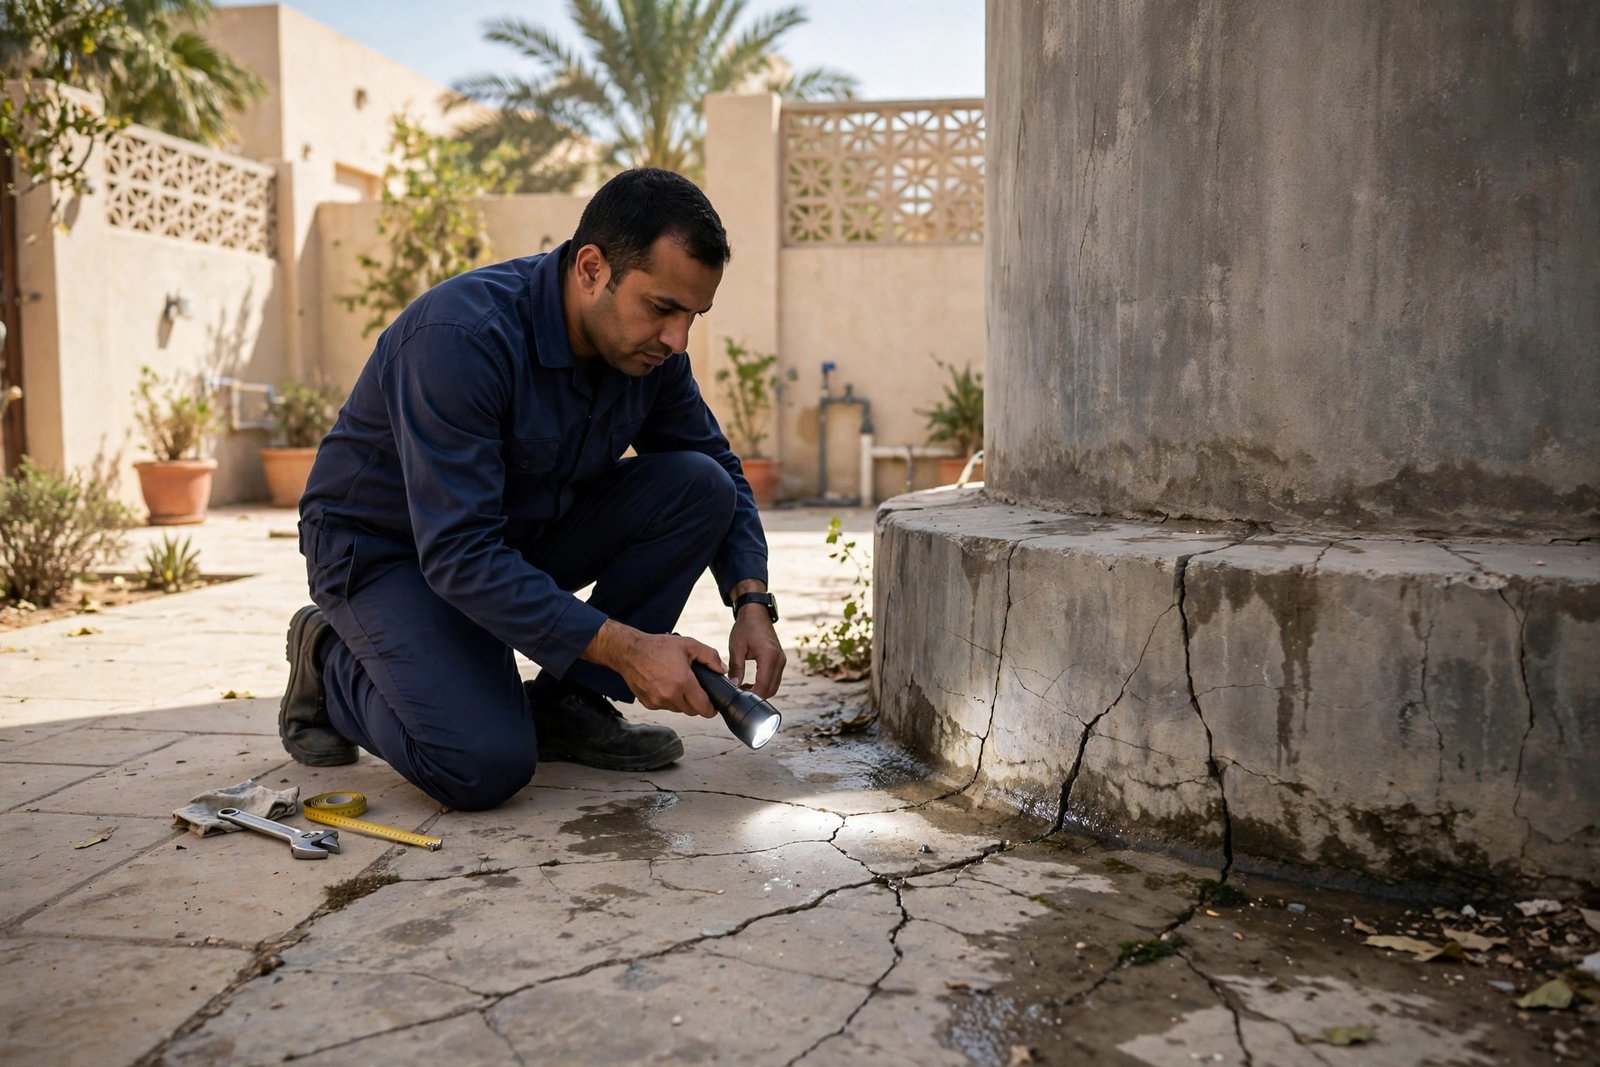
Every lasting job starts with a clean, honest look at the surface. The technician shuts off the water supply and drains enough water to work safely around the base, then checks the plinth for hairline cracks, salt deposits, hollow spots, and any old coating that is peeling away. A strong flashlight helps reveal moisture stains that daylight hides. Once the inspection is done, the whole base is pressure-washed to remove dust, algae, and loose concrete. This is the step impatient contractors rush, but it decides everything: no membrane bonds properly to a dirty or powdery surface. The base must be fully dry before anything else touches it, so work planned for a dry Riyadh morning gives the best results.
Step 2: Repair Cracks and Re-Level the Plinth
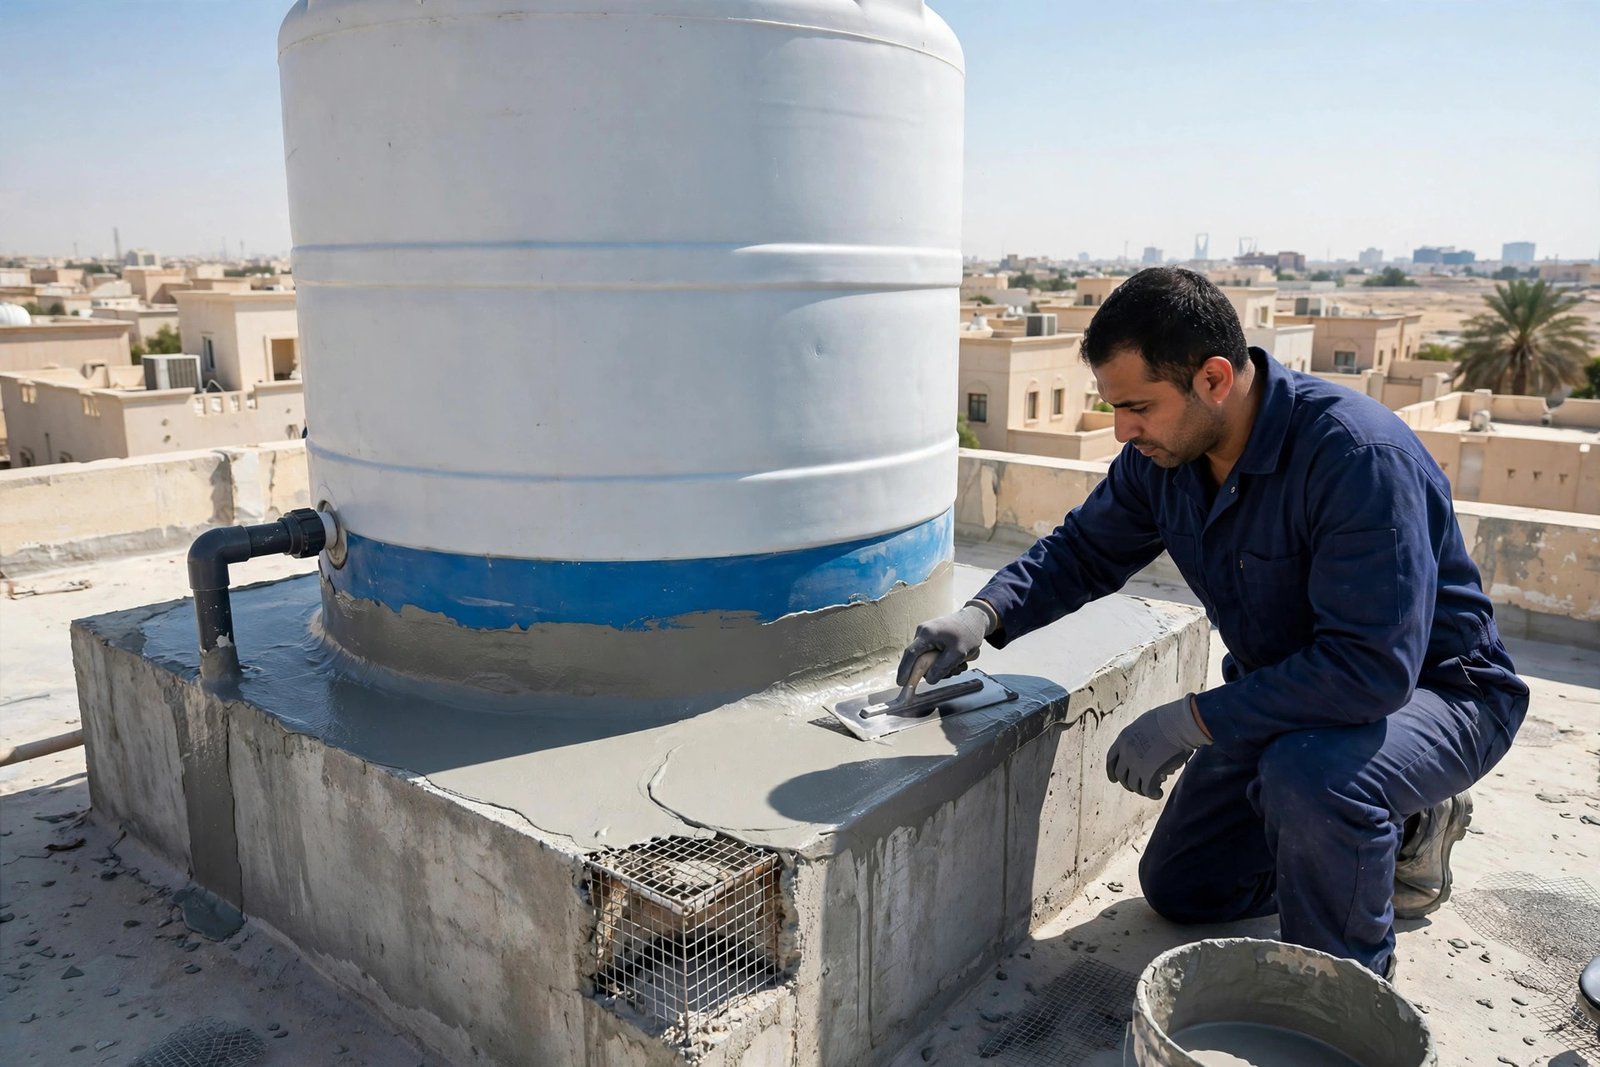
With a clean surface, every defect becomes visible and fixable. Hairline cracks are chased open with a grinder, then filled with polymer-modified repair mortar that bonds stronger than the surrounding concrete. Spalled or hollow areas are chipped back to solid material and rebuilt the same way. If the plinth has settled unevenly, a thin leveling screed restores a gentle slope so rainwater runs away from the tank instead of pooling at the joint. Ponding water is the silent enemy of any waterproofing system: it finds every weak point given enough time. This repair stage covers the full circumference of the base, because a waterproofing job is only as strong as its weakest five centimeters. For the full picture, including internal lining and tank hygiene, see our guide to water tank waterproofing in Riyadh.
Step 3: Apply the Waterproofing Membrane
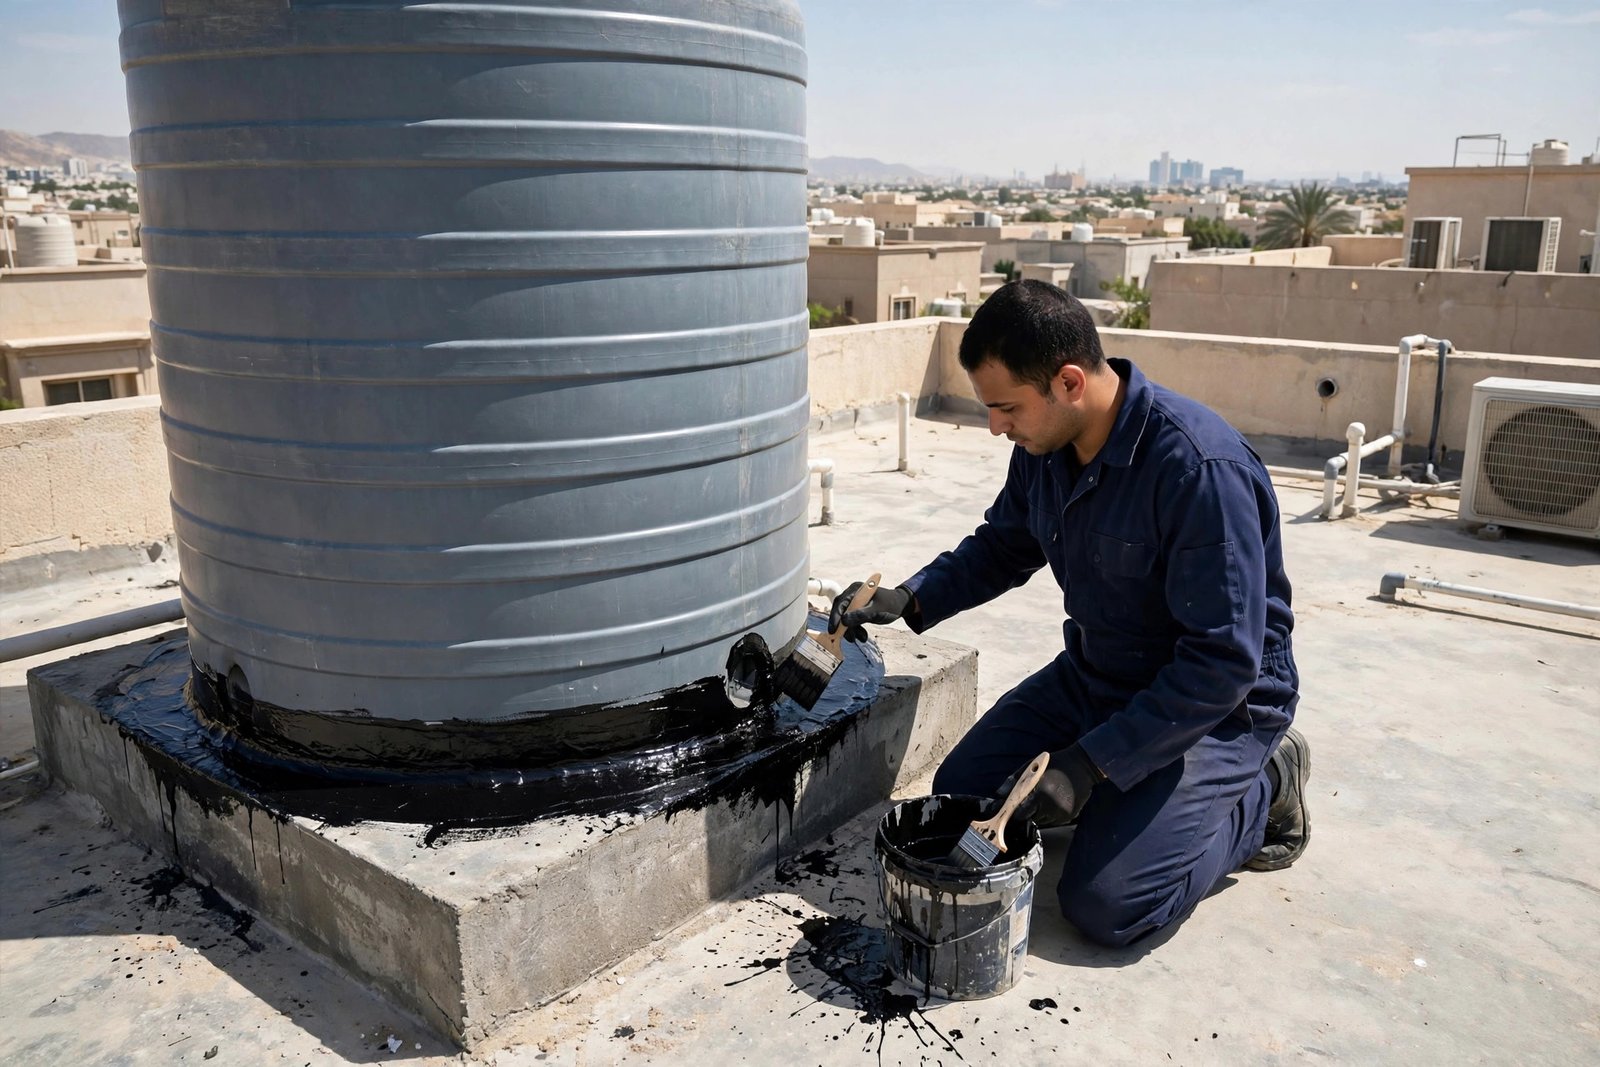
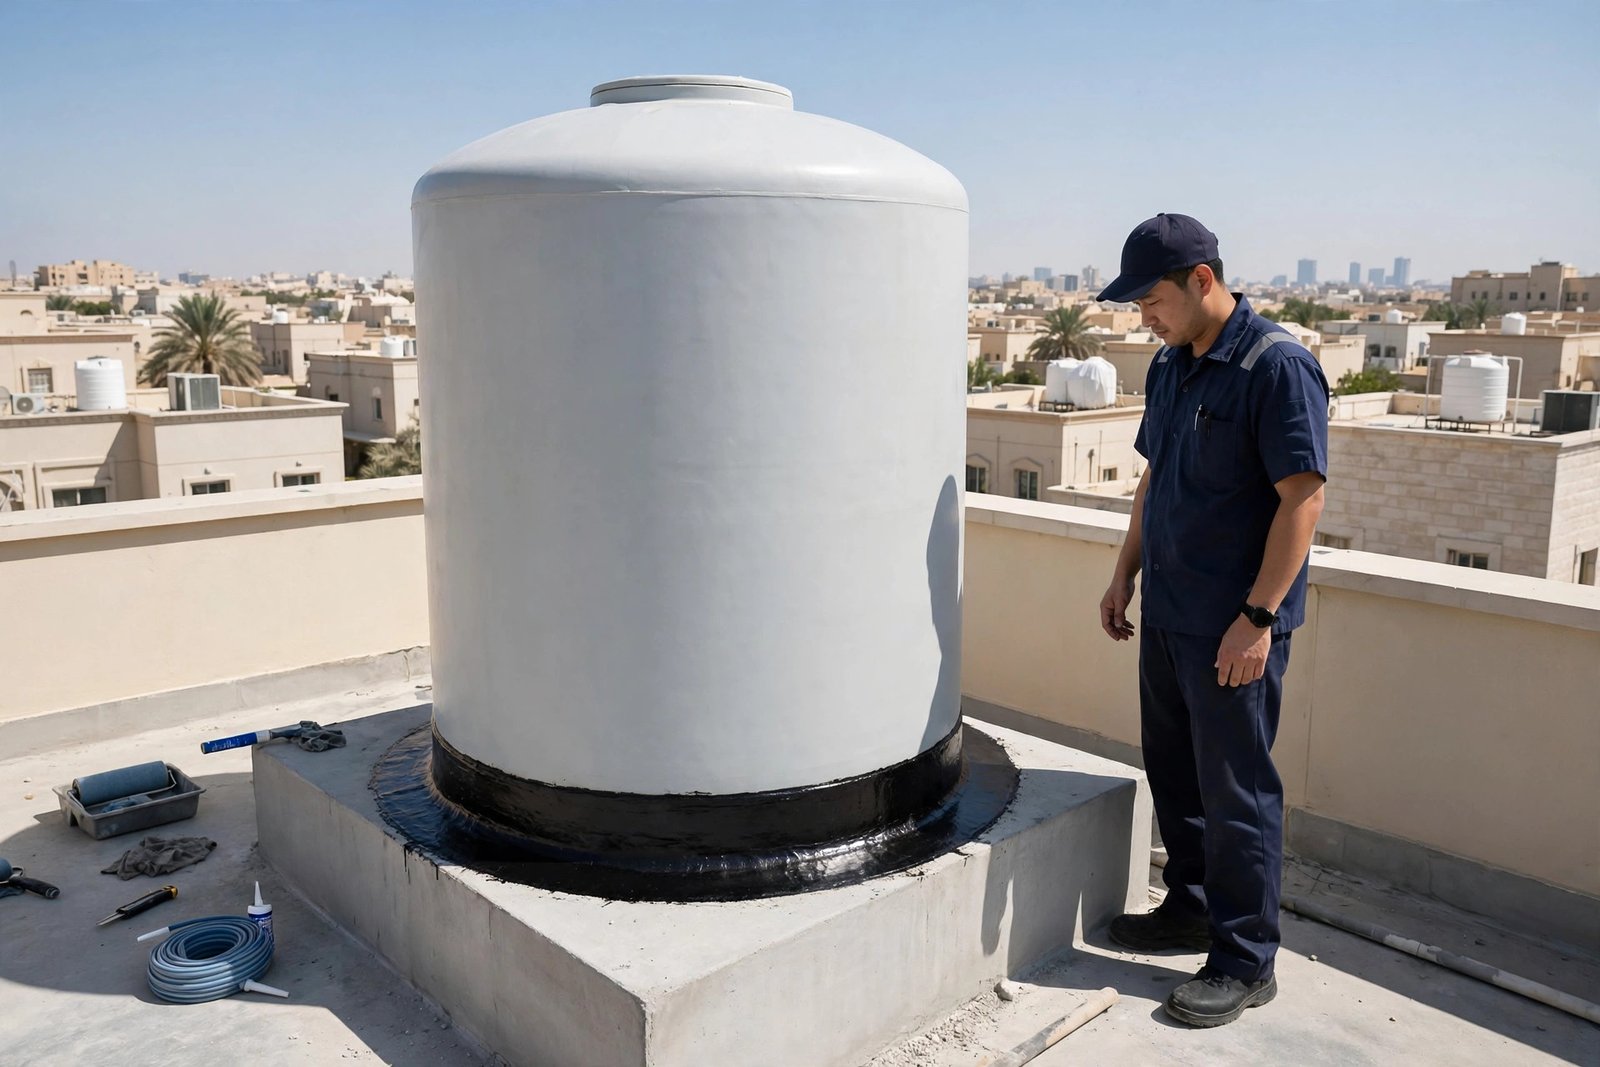
This is the heart of the water tank base waterproofing steps. After priming the cured repairs, the technician applies two full coats of waterproofing membrane, usually a flexible bituminous coating or a cementitious system, depending on the tank type and exposure. The membrane wraps continuously from at least 15 centimeters up the tank wall, across the base joint, and 15 centimeters out onto the plinth. A polyester reinforcement mesh is embedded into the first coat at the corner joint, the most stressed point of the entire assembly, so the membrane can flex with daily thermal movement without tearing. For larger commercial bases, a torch-applied bitumen sheet may be used instead. Each coat is rolled at right angles to the last, which closes pinholes that a single-direction application can leave behind. Waterproofing at its core is the application of water-resistant barriers exactly like these membranes, a practice documented in detail on the Wikipedia page for waterproofing.
Step 4: Cure, Test, and Seal the Edges
A membrane is only as good as its cure. The coated base is left undisturbed for 24 to 48 hours, protected from foot traffic and direct water contact while the coating reaches full strength. Then comes the test that separates professionals from guesswork: a controlled ponding or hose test that holds water against the base for 24 hours, followed by a careful check for any dampness on the concrete below. Only after the base passes does the technician finish the job, sealing the membrane edges with flexible polyurethane sealant so wind and heat cannot lift them over time. The final walk-through covers the full circumference once more, and every completed job is documented. This testing discipline is exactly what backs the SheelTalab 30-day golden warranty: if water finds its way back through the base within 30 days, the team returns and fixes it free.
How Much Does Tank Base Waterproofing Cost in Riyadh?
Pricing is straightforward. SheelTalab charges 50 SAR per meter (was 70), measured around the base of the tank. The final figure depends on the tank circumference, the condition of the concrete, and the membrane system chosen for the exposure. Because the work is measured by the meter, following the correct water tank base waterproofing steps keeps the price predictable: a sound base that only needs cleaning and coating costs less than one needing deep crack repair first. A typical villa tank base is finished in a single visit, usually within a few hours, and the price quoted is the price you pay, backed by the 30-day warranty and our 4.9 out of 5 rating from more than 18,500 completed jobs.
When to Call a Professional Waterproofer in Riyadh
Call a professional the moment you spot warning signs, not after the ceiling stains. Persistent dampness on the ceiling directly below the tank, white salt streaks on the plinth, peeling paint near the base, or a puddle that returns after every rain all mean water is already moving through the concrete. DIY coatings from a hardware store can work as a temporary patch, but without crack repair, leveling, and proper curing, they tend to fail in one Riyadh summer. Our certified technicians follow these same water tank base waterproofing steps on every job, and we also handle roof waterproofing and bathroom waterproofing across Riyadh, with genuine materials, 45-minute rapid dispatch, and service available around the clock. Reach us on 0570328344 or 0570328344, or message us on WhatsApp for a free assessment.
A leaking tank base never fixes itself, but four disciplined steps do: inspect and clean, repair and level, membrane and mesh, cure and test. Done in that order, with the right materials, your tank base stays dry through Riyadh’s harshest heat and heaviest rain. Whether you take on the job yourself or hand it to the professionals, now you know exactly what good work looks like. For a fast, warrantied result, SheelTalab is one call away, 24 hours a day.