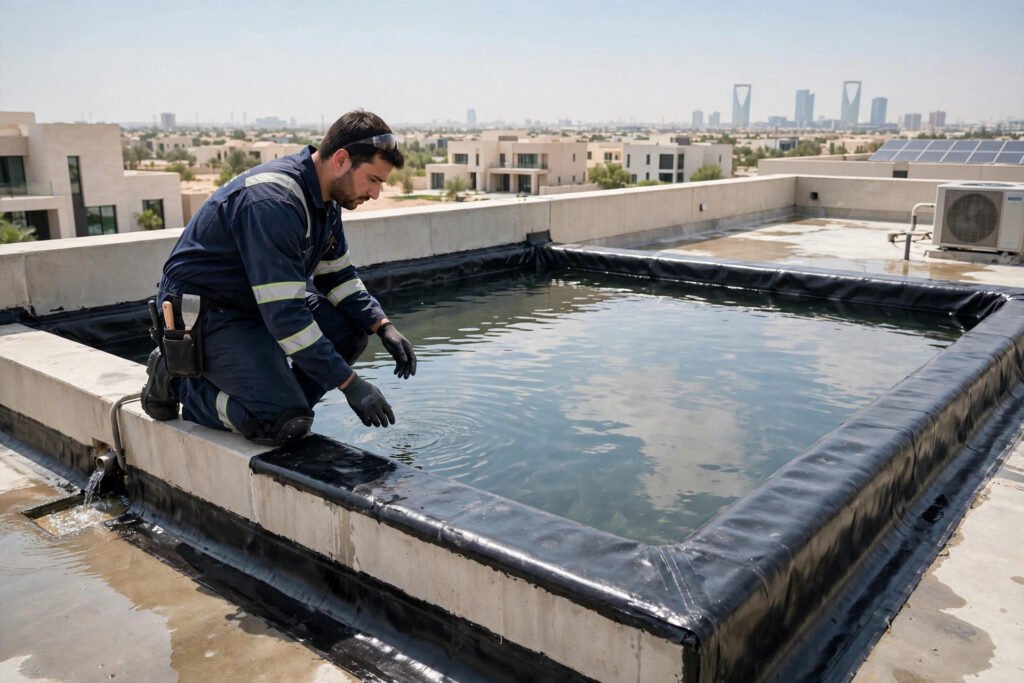
A hidden leak under a waterproofed roof can rot a ceiling, peel paint, and grow mold for months before anyone notices. In Riyadh, where a single winter storm can dump a month of rain in a few hours, guessing whether your roof membrane still holds is a gamble no villa owner should take. The waterproofing flood test method removes the guesswork: it covers the surface with a controlled layer of water and watches where the water goes, revealing leaks before the next storm does.
Flood testing is the same quality control technique used on commercial towers, plaza decks, and water tanks around the world, scaled down for villas, bathrooms, and rooftop terraces. It is inexpensive, it requires no demolition, and it pinpoints failures in membranes, drains, and expansion joints with near perfect accuracy. At SheelTalab, our certified technicians run professional flood tests across Riyadh with 45-minute rapid dispatch, 24/7 availability, and a 30-day golden warranty on every job.
In this guide, you will learn exactly how the waterproofing flood test method works, the five steps our crews follow on every rooftop and bathroom, the mistakes that make do it yourself tests useless, and the signs that it is time to call a professional. Our waterproofing service costs 50 SAR per meter (was 70 SAR), and we carry a 4.9 out of 5 rating from more than 18,500 completed jobs across Riyadh.
What Is the Waterproofing Flood Test Method?
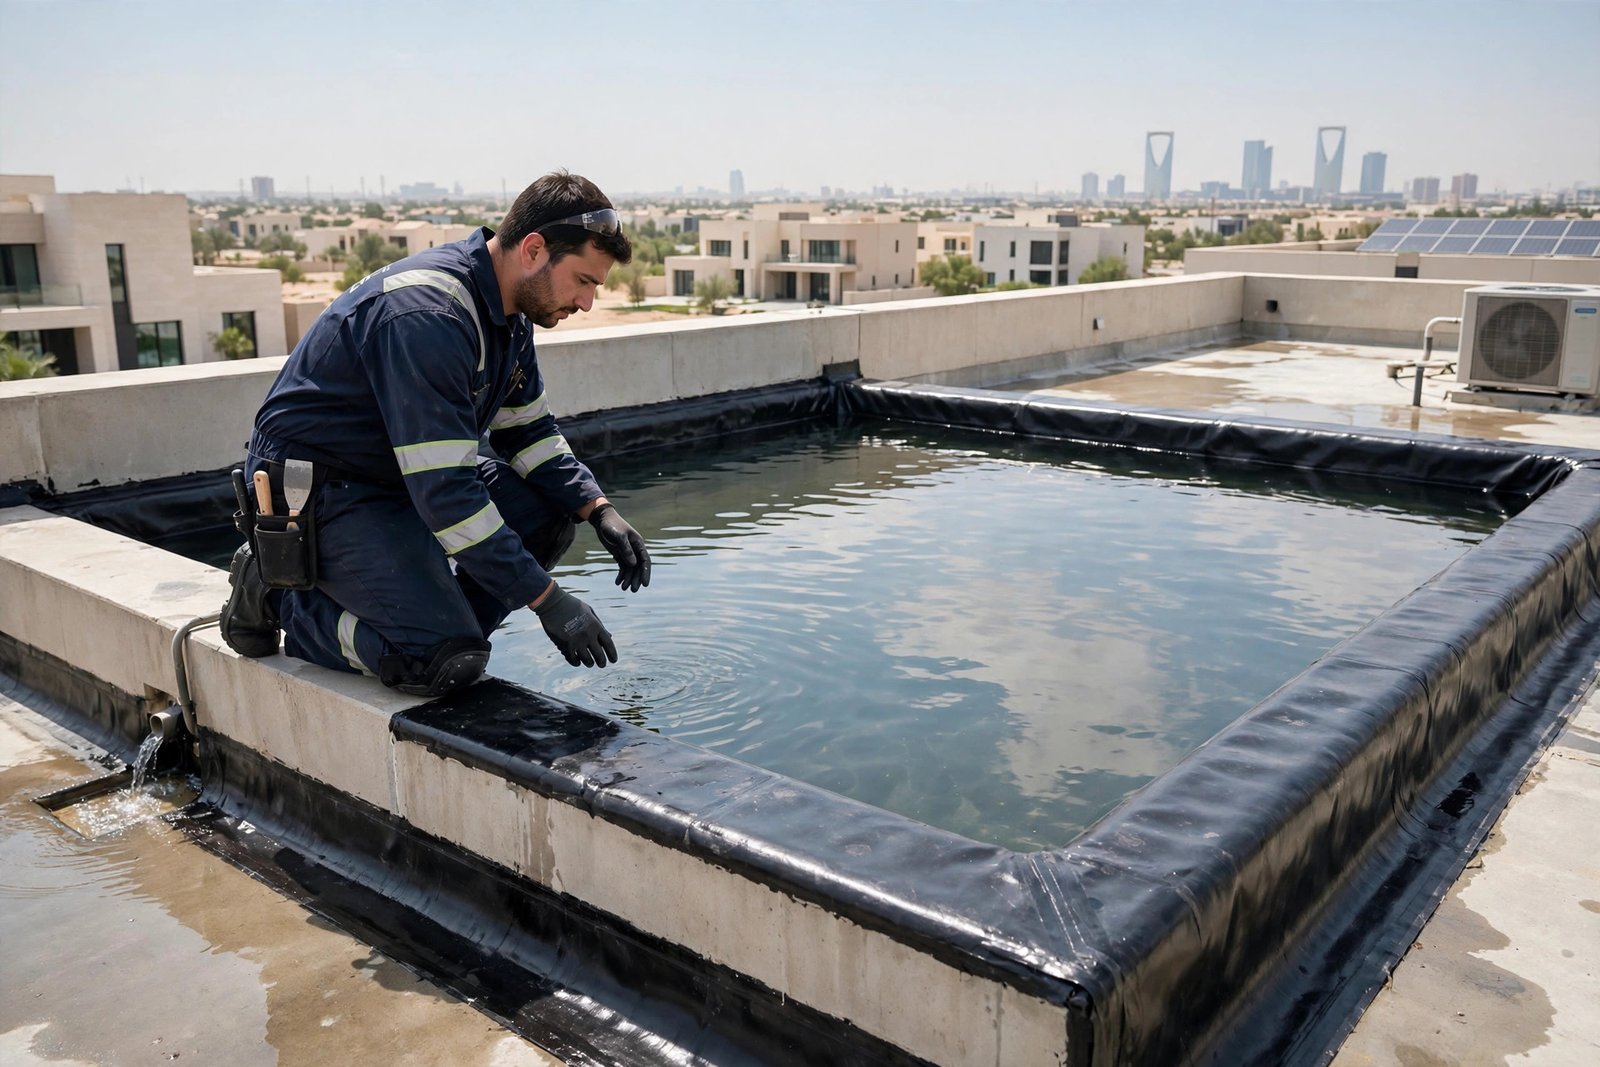
A flood test, also called a ponding test, is simple in concept: block the drains, fill the waterproofed surface with water to a set depth, hold it there, and check the space below for leaks. The water acts as the most honest inspector available, because it finds every pinhole, seam failure, and cracked flashing that the eye misses.
The procedure follows the internationally recognized ASTM D5957 Standard Guide for Flood Testing Horizontal Waterproofing Installations, which calls for ponded water up to 100 mm deep held for 24 to 72 hours on low slope surfaces. Unlike a quick visual check or a handheld moisture meter, which only sample the surface, a flood test proves the whole assembly is watertight under real standing water, the same load a heavy Riyadh downpour creates.
Why Flood Testing Matters in Riyadh
Riyadh’s climate is uniquely harsh on waterproofing. Two forces, sudden water and constant heat, attack every membrane in the city, which is why regular testing is part of responsible villa maintenance.
Riyadh’s Rain Hits Hard and Fast
Riyadh receives little rain overall, but when it comes, it arrives in violent bursts. November and December storms regularly overwhelm blocked roof drains and send water sheeting across terraces. A membrane with a single weak seam that survives ten months of dry weather can fail in one afternoon of ponding. Flood testing recreates exactly that scenario, safely and on your schedule. For the warning signs that your roof may already be leaking, read our guide to roof waterproofing in Riyadh.
Heat Silently Weakens Membranes
Months of 45 degree heat bake bitumen membranes brittle and loosen the adhesive on sheet systems. UV radiation cracks liquid applied coatings at parapets and around pipe penetrations, the same spots where leaks begin. Because this damage happens out of sight, most owners discover it only when brown stains spread across a bedroom ceiling. A yearly flood test catches membrane fatigue while it is still cheap to fix. Bathrooms suffer the same invisible wear, which is why we also wrote about the hidden leak signs in bathroom waterproofing.
The 5-Step Waterproofing Flood Test Method
Here is the exact five step sequence our technicians follow on rooftops, terraces, and bathroom floors across Riyadh. Each step has a purpose, and skipping one is how tests give false confidence.
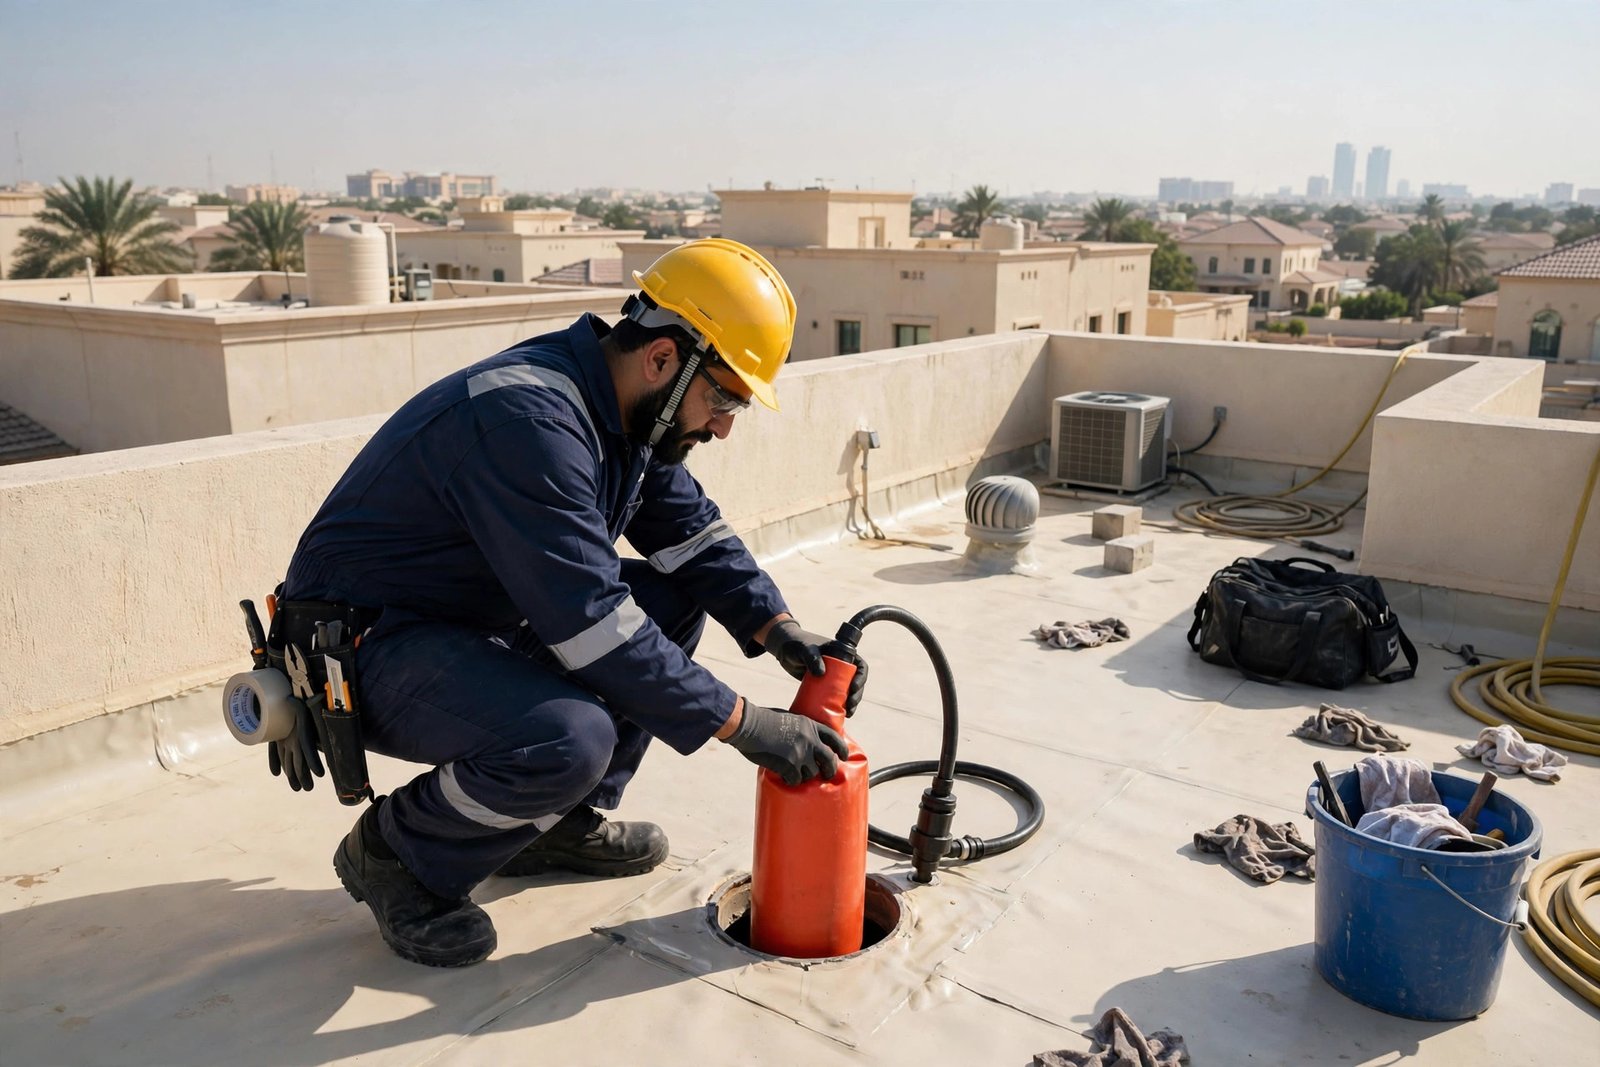
Step 1: Seal Every Drain
Every drain, scupper, and outlet inside the test area is blocked with an inflatable test plug or a mechanical drain stopper. The seals must be watertight but non destructive, so the membrane is never punctured. This is the step most do it yourself testers get wrong: one unsealed drain and the water quietly escapes, making the whole test meaningless.
Step 2: Pond the Water
Water is filled to a depth of 50 to 100 mm (2 to 4 inches) at the lowest point, following the ASTM guidance. Never exceed the depth your structure can carry: water weighs 1,000 kg per cubic meter, and a 100 mm layer over a large terrace is a serious load. Filling slowly prevents the surge from dislodging fresh sealant around drains and upstands.
Step 3: Monitor for 24 to 48 Hours
The pond sits undisturbed for 24 to 48 hours. We mark the water level at several fixed points with a ruler gauge or a marked stake, so evaporation and leaks can be told apart. In Riyadh’s heat, several millimeters of evaporation per day is normal, especially on an exposed roof in summer. Any drop beyond the expected evaporation, or any damp spot appearing below, points to a breach. During the soak we check the underside at intervals rather than waiting until the end.
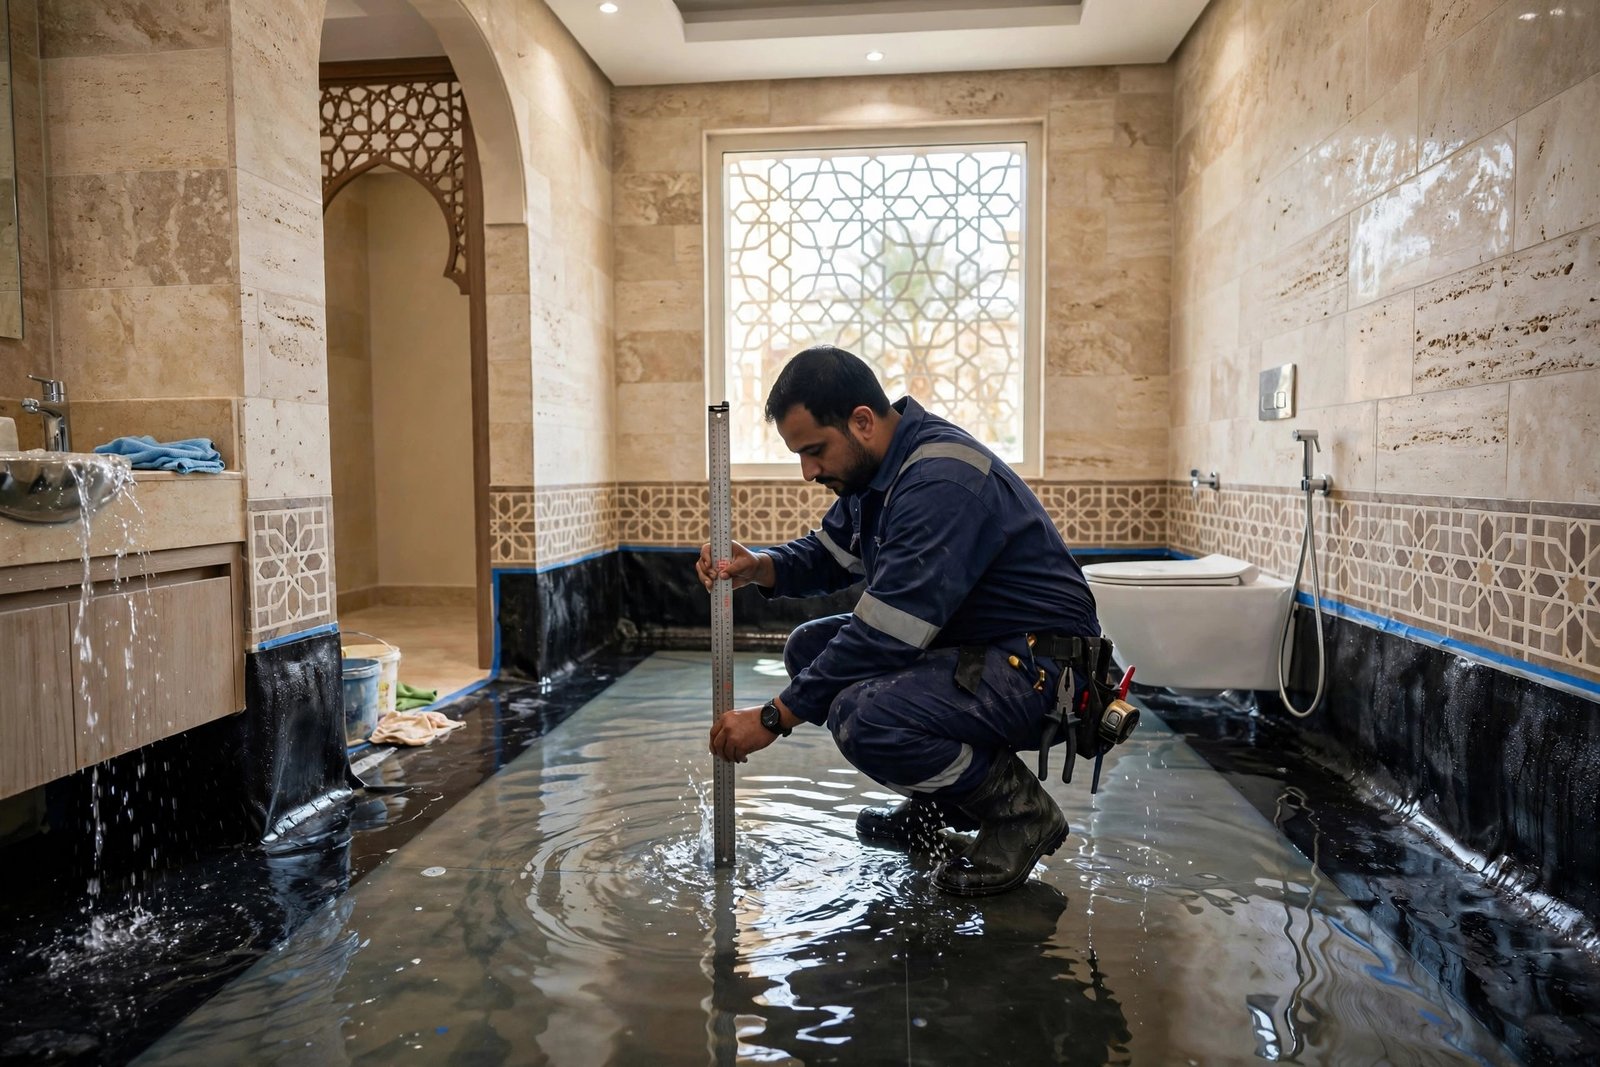
Step 4: Inspect the Underside for Leaks
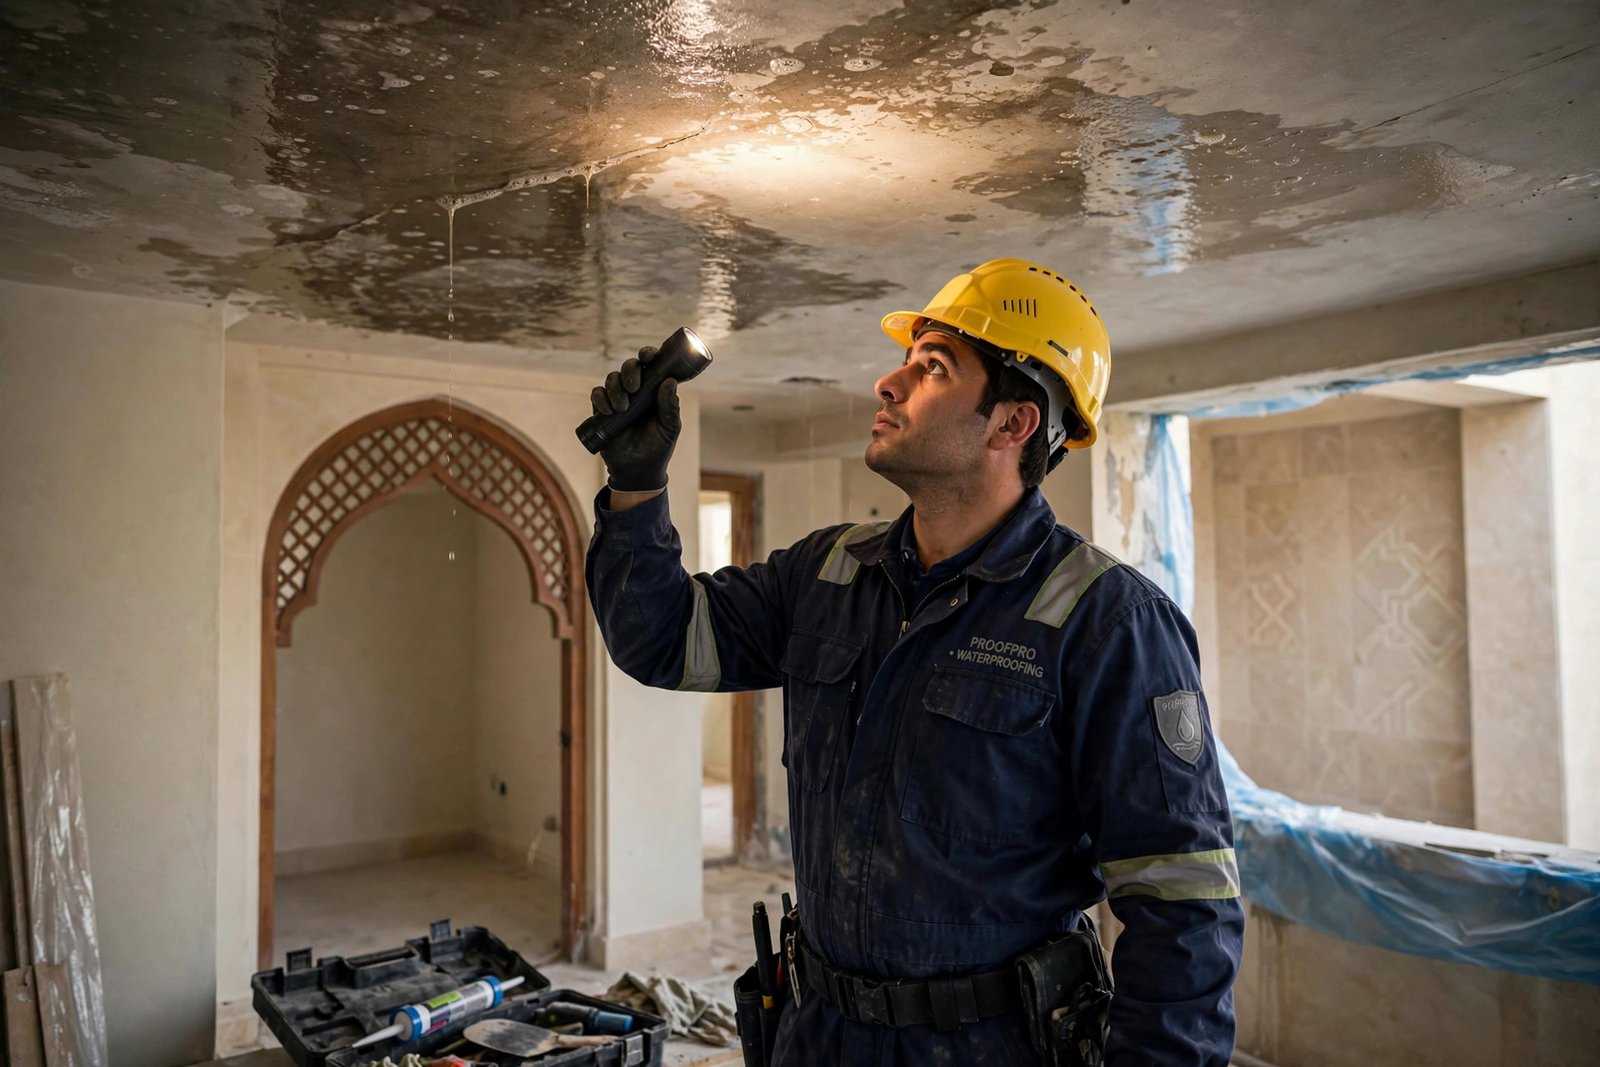
The real verdict comes from below. We inspect the ceiling or slab soffit under the test area with a bright flashlight, looking for active drips, damp patches, and discoloration around expansion joints and pipe penetrations. Because water travels along rebar and concrete cracks, the drip point is often meters away from the actual membrane failure. Marking each damp spot lets us trace back to the true entry point. For a deeper look at how professionals trace hidden water paths, see our guide to water leak detection in Riyadh.
Step 5: Drain and Document
Once the test period ends, we remove the plugs and drain the water in a controlled way, never letting it flood lower floors or neighboring areas. Then we document everything: water depths at each mark, the duration, weather conditions, photos of any leak points, and the exact locations on a roof plan. This report is what a warranty claim or a repair quote is built on. If the test passes with no leaks, you get written proof that your membrane is sound, which is valuable when buying or selling a villa.
Common Mistakes That Ruin a Flood Test
We are called out regularly to retest roofs that a contractor “already tested.” The failed tests almost always share one of these mistakes: the water was too shallow to challenge the membrane, usually under 25 mm; the test ran for only a few hours instead of a full day or two; drains were blocked with rags that leaked slowly; nobody inspected the underside, so slow weeps went unnoticed. A flood test done properly leaves no ambiguity. A test done carelessly is worse than no test, because it creates false confidence.
When to Call a Professional Flood Test in Riyadh
Book a professional flood test if you see ceiling stains or peeling paint, if leaks return after a previous repair, if your waterproofing membrane is more than five years old, or if you are buying a villa and want proof the roof holds. Our waterproofing service costs 50 SAR per meter (was 70 SAR) and includes the test, the written report, and our 30-day golden warranty. With 45-minute rapid dispatch and 24/7 service across Riyadh, call 0570328344 or 0570328344, or tap below to reach us on WhatsApp.
The waterproofing flood test method is the most reliable way to know, not guess, whether your roof or bathroom will survive Riyadh’s next storm. Five simple steps turn an invisible risk into a written answer. Schedule your test before the rainy season, and you will face every downpour with total confidence.